
Foundation paper piecing
What is foundation paper piecing? A quilter's plain-language guide
Foundation paper piecing, often called FPP, is a precision technique. You sew fabric to a printed foundation in a numbered order, then trim and join the finished sections.
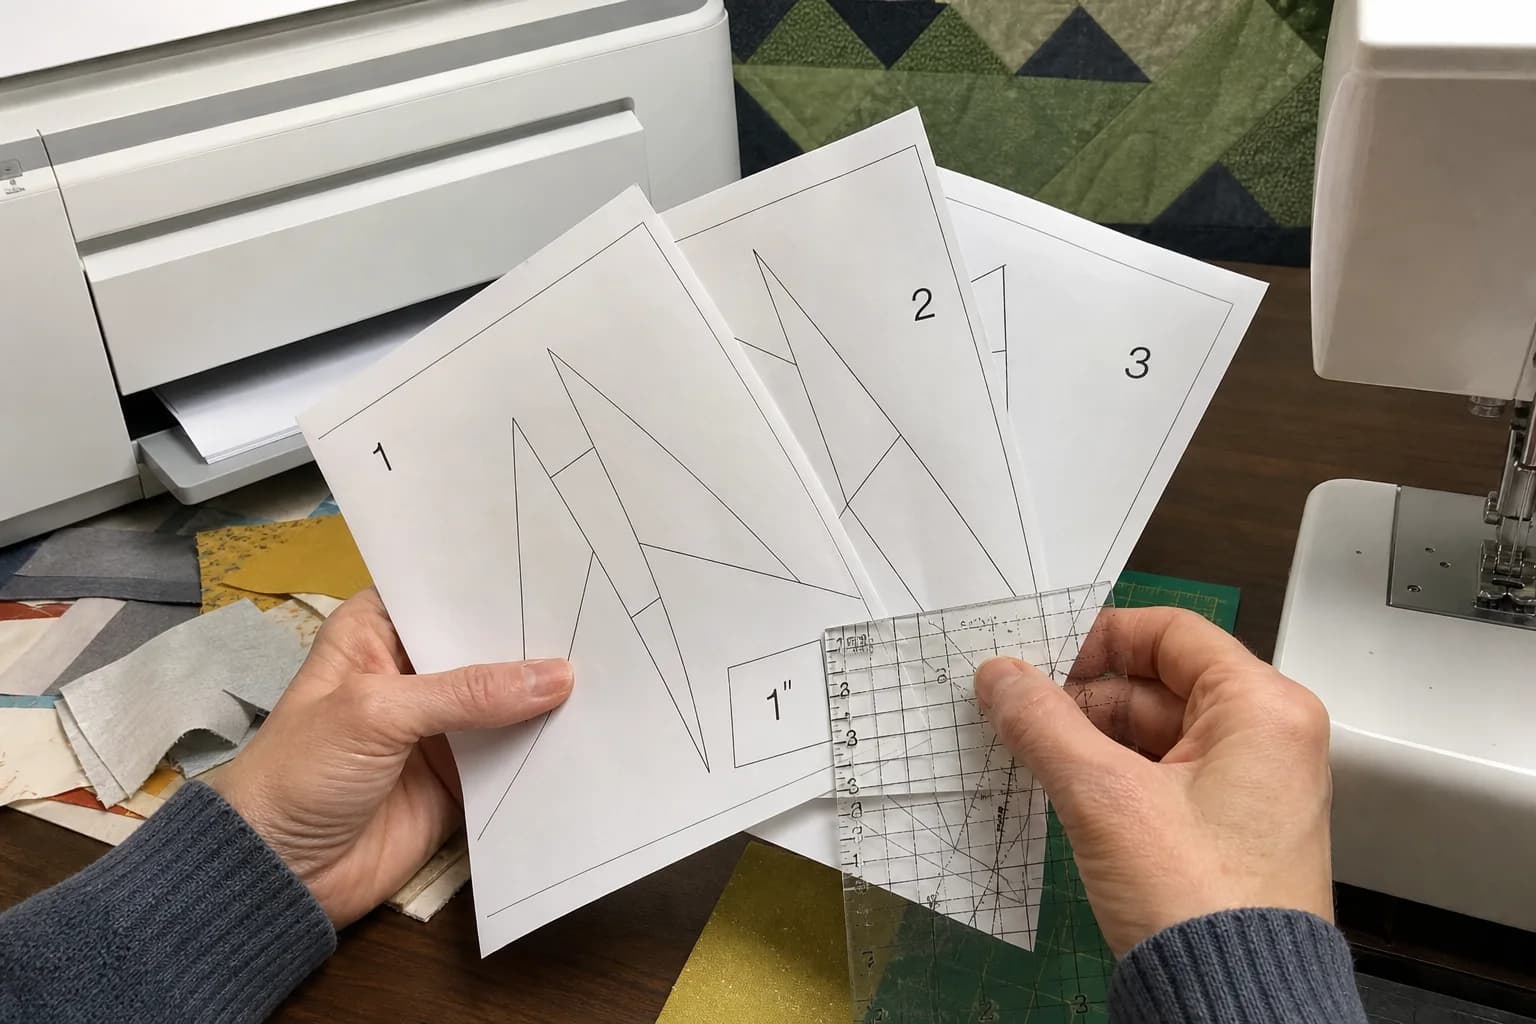
At the cutting table
What to notice first
- How sew-and-flip construction works
- What the numbers and lines mean
- Why trimming controls the section
- What makes a foundation usable
FPP builds a picture one seam at a time
In foundation paper piecing, the printed foundation acts as both a map and a stabilizer. Each numbered area represents a fabric patch. You place the first patch behind its area, add the next fabric right sides together, sew on the printed line, then flip the new fabric open. The foundation keeps those straight seams in their intended positions while you build the section.
That is why FPP can make sharp points, skinny wedges, and intricate angles manageable. The fabric does not have to be cut to an exact shape before every seam. It needs enough coverage behind the numbered area, plus enough extra to sew the next line safely. Precision comes from the printed lines and careful trimming, not from hoping a tiny pre-cut triangle lands perfectly.
What you are looking at on the page
A usable foundation usually has numbered patches, solid construction lines, an outer trim line, seam allowance beyond that line, section labels, and a test square. It may also have arrows, color or fabric labels, and marks for matching one finished section to another. The lines are doing different jobs. Sew on the construction line; trim to the outer trim line only when the instructions call for it; keep the allowance outside the trim line so the section can join the next one.
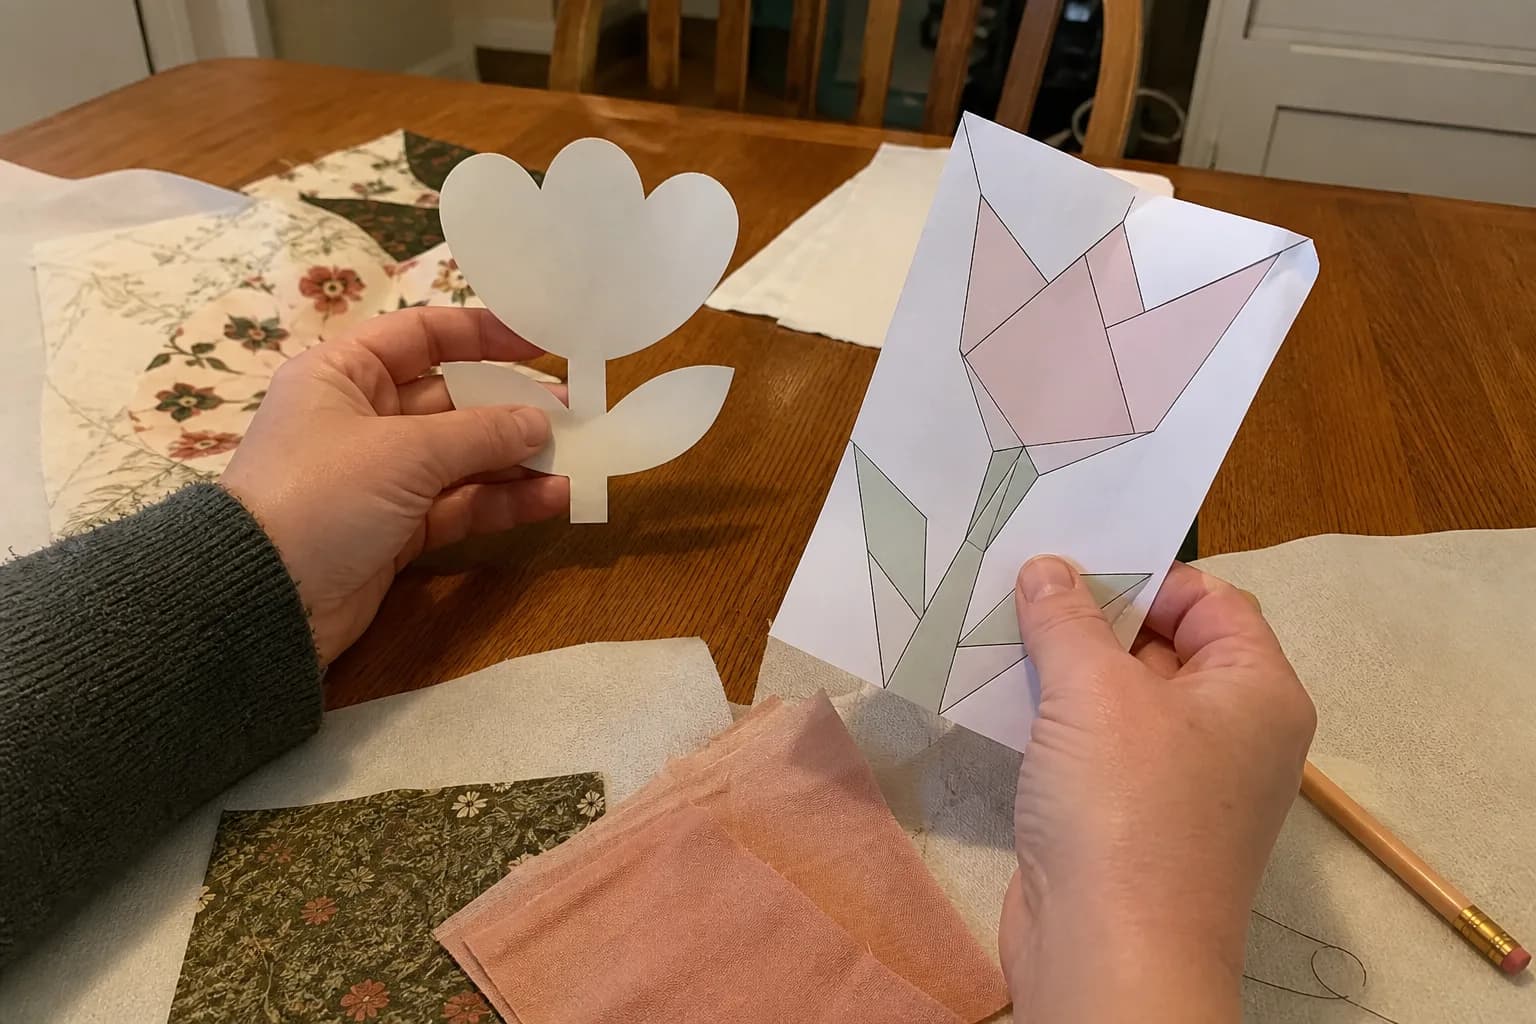
Do not assume a black outline in artwork is a sewing line. The foundation itself must distinguish the order and boundaries clearly enough to use at the machine. If the page has only colored facets with no numbered sequence, it may be a visual reference rather than an FPP foundation.
The basic sew-and-flip rhythm
- Place patch 1 behind its numbered area, right side of fabric facing away from the printed side.
- Fold the foundation on the next sewing line and check that the next fabric will cover its full numbered area when flipped.
- Sew on the line, shorten the stitch length if you plan to remove paper later, then flip and press the fabric open.
- Trim the seam allowance if the pattern directs it, then repeat for the next number.
- When the section is complete, trim its outside edge on the stated trim line, leaving the required joining allowance.
The fold-and-check step is where many scraps are saved. Hold the loose fabric back over the numbered area before sewing. If it does not cover the shape plus a little room beyond the line, choose a larger piece or reposition it now.
Why a printed scale check matters
FPP foundations are full-size working pages. If a printer shrinks them to fit its margins, every seam will still line up with the paper, but the finished section will be the wrong size. Print at Actual size or 100%, then measure the paper test square with a ruler before you cut or sew. Learn the full routine in how to print FPP patterns.
FPP has real construction requirements
A compelling picture is not enough to make a foundation. Every section needs a workable sewing order in which each new patch can be added with a straight seam and flipped to cover its area. Sections need sensible boundaries, readable labels, and joining edges that form the intended block. A design can look angular while still creating traps: enclosed pieces with no workable entry seam, slivers too narrow to manage, or no clear path to join sections.
For compatible geometric blocks, usable FPP instructions can include actual-size foundations, numbered order, fabric labels, trim guidance, a scale check, and an assembly map. A pictorial result made from a photo or prompt is not ready to cut from yet. A visual preview or planning layout does not show that the complete foundations, sewing order, print guidance, and joining instructions are all present.
Before you start an FPP section
- Confirm the page printed at the stated scale.
- Find the section label, patch 1, and the next two sewing lines.
- Set aside fabric pieces generously larger than their visible areas.
- Keep a ruler and postcard or folding tool nearby for line folds.
- Plan to make one section first and check its trimmed size.
Next, see how section numbering works, then read how FPP trimming and seam allowance work before you trim your first finished section.
The questions that come up next
Common questions
Do I sew through the paper in FPP?
Yes. The paper or foundation stabilizes the section while you sew along its printed construction lines. It is usually removed after the section has been sewn and the neighboring seams are secure, following the pattern's instructions.
Is FPP the same as English paper piecing?
No. FPP uses a printed foundation and a sewing machine or hand stitching to build fabric sections. English paper piecing wraps fabric around paper shapes and hand-sews the fabric edges together.
Can every geometric design be foundation paper pieced?
No. A foundation needs a workable numbered sew-and-flip order, straight construction seams, trim boundaries, and a way to join sections. A geometric-looking drawing may still need a different method.
Quilt math, without the second-guessing
One short email when a new guide or calculator lands. No sales sequence.
You're agreeing to quilt-math emails from Stitchtale. Unsubscribe any time; this is separate from signing in.