
Quilt math
How to calculate quilt binding
Binding yardage is perimeter math. Measure the finished quilt, choose the strip and usable fabric widths you intend to use, then make the corner and joining allowance visible before fabric is cut.
Calculate your binding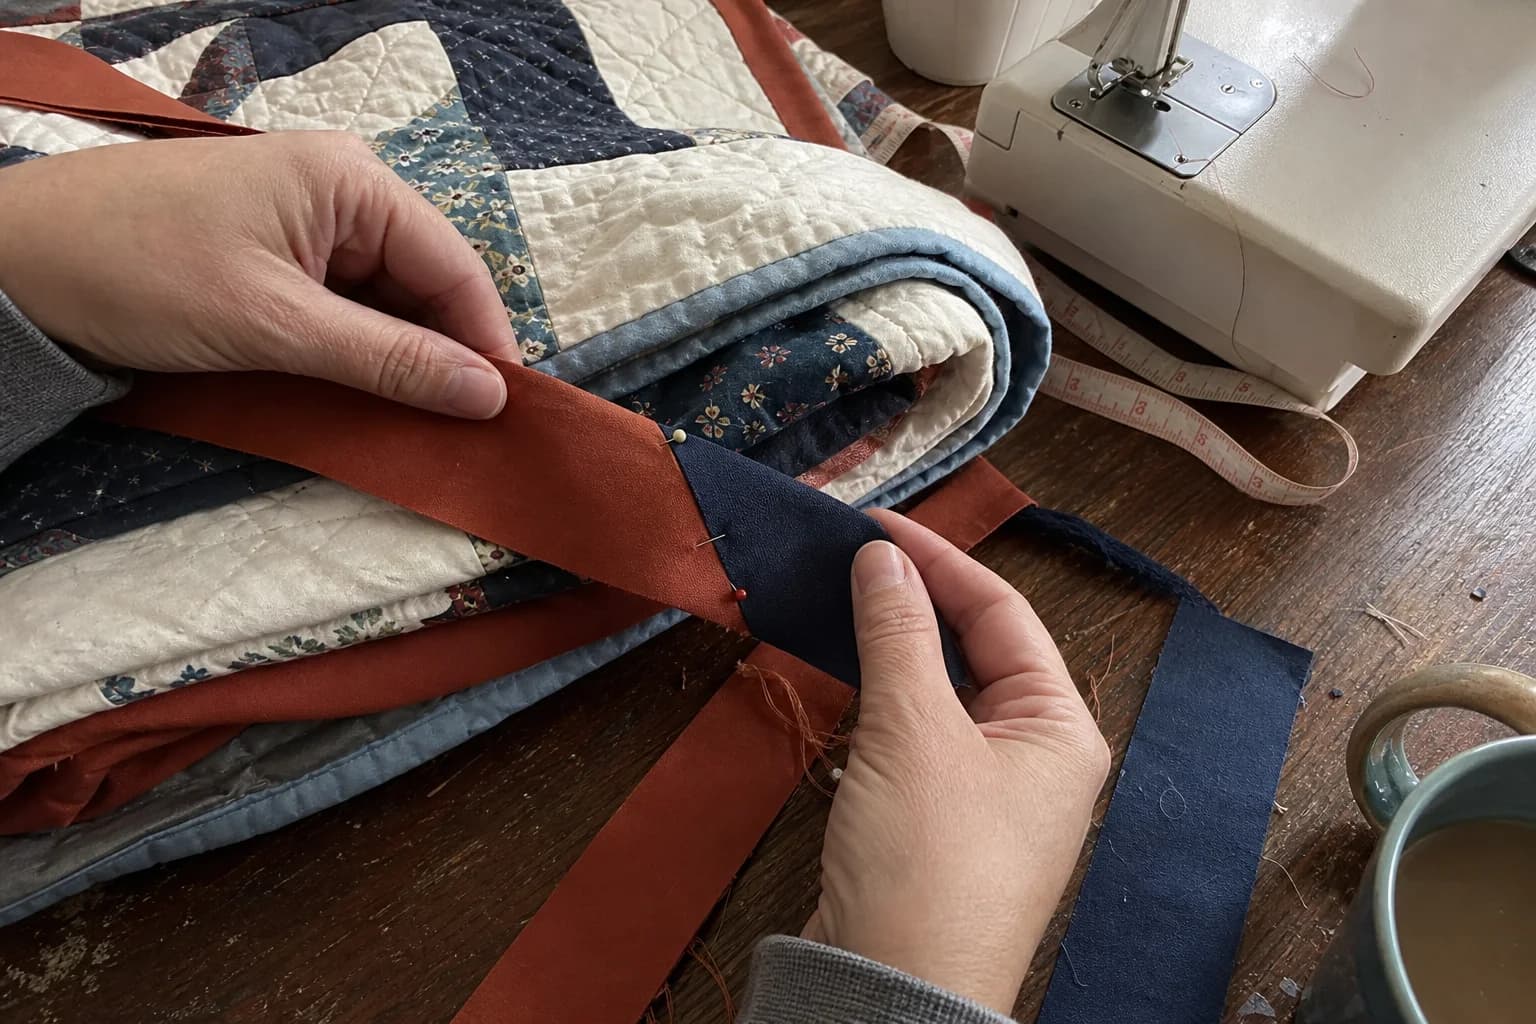
At the cutting table
What to notice first
- Why perimeter comes first
- The strip-count calculation
- A worked example
- What the estimate does not decide
Measure the finished edge, not the original block plan
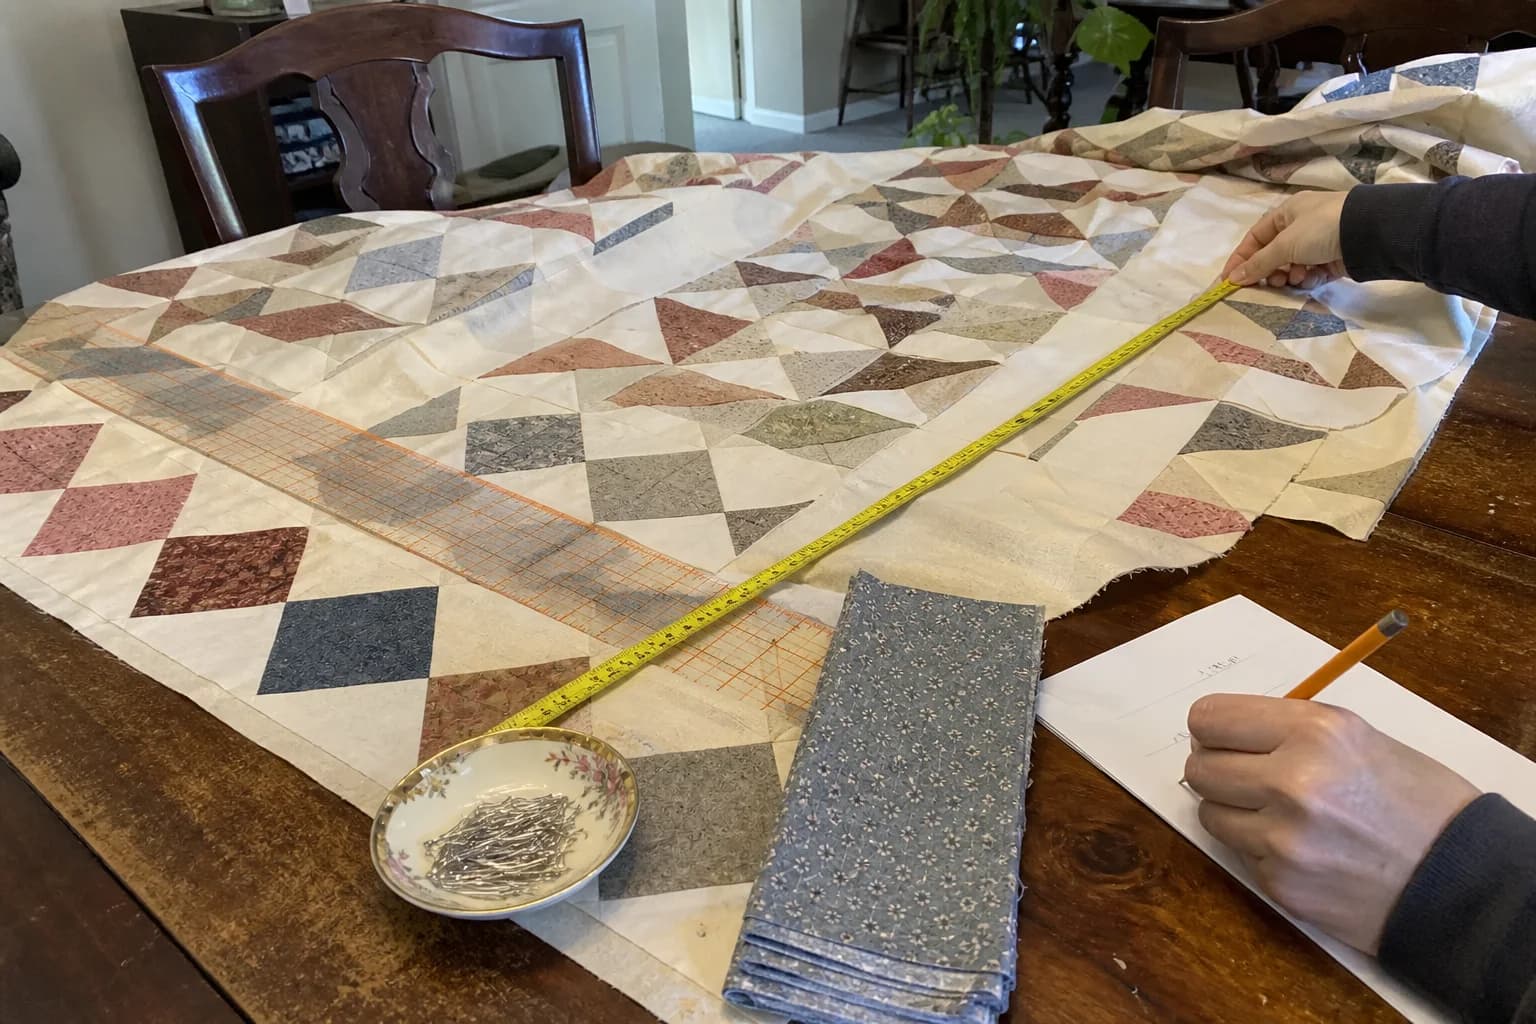
Binding travels around the outside edge of the quilt. Start with its finished width and length after borders, quilting, and any trimming you intend to do. A block count can help you estimate earlier in a project, but a tape measure on the actual quilt is better before you cut the final binding.
Perimeter is width plus length, multiplied by two. A quilt that measures 60 by 80 inches has a 280-inch perimeter: 60 plus 80 equals 140, and 140 multiplied by two equals 280. That is the path the binding must cover before you account for corners and joined strips.
Make the strip plan visible
Binding is usually cut as width-of-fabric strips, then joined into one continuous length. The number of strips depends on the total binding length required and on the usable fabric width. Use usable width rather than assuming every fabric yields the same amount after selvages are removed.
Strip width is another real input. It affects how many strips fit across fabric and the finished binding you are trying to make. This guide does not choose a strip width for you. Follow the pattern or your preferred method, then calculate with that stated choice.
Worked example: a 60 by 80 inch quilt
Start with the 280-inch perimeter. For an example calculation, add 10 inches for turning the corners and closing the ends, giving 290 inches. With 42 inches of usable fabric width, each strip is 42 inches long, but every diagonal join uses 2½ inches of it. Seven strips joined six times give only 279 inches, so eight strips are needed; joined seven times, they give 318½ inches. Cut 2½ inches wide, eight strips take 20 inches of fabric, which rounds up to ⅝ yard.
- Finished quilt: 60 by 80 inches.
- Perimeter: 280 inches.
- Example allowance: 10 inches, for 290 inches total.
- Joins: each diagonal join uses 2½ inches, so seven strips give 279 inches and eight give 318½.
- Eight 42-inch strips at 2½ inches each: 20 inches, or ⅝ yard.
The binding calculator shows this working and rounds up to the next eighth yard. Treat its result as an estimate for the strip width, fabric width, and allowance shown, not as an instruction to ignore a pattern's stated finishing method.
Keep one strip aside until the plan is confirmed
Before cutting every strip, compare the planned strip count with the binding method you will use. Bias binding, straight-grain binding, flange details, and special corner treatments can change the material plan. A striped fabric also deserves a visual check: the strip direction changes how stripes read around the edge.
Checklist before cutting binding
- Measure the actual quilt width and length.
- Calculate the perimeter.
- Write the allowance and the reason for it.
- Confirm usable fabric width and planned strip width.
- Round the purchase amount up, then keep the calculation with the fabric.
If the quilt still needs a final trim, read how to square up a quilt before treating the edge measurement as final.
Save the perimeter note
Write the final perimeter, strip width, and usable fabric width on the binding label. When you return to the project after quilting or trimming, you will know which assumptions produced the strip count.
The questions that come up next
Common questions
How do I calculate the perimeter of a quilt?
Add width plus length, then multiply by two. Use the finished quilt dimensions, including any borders that will remain.
Does binding strip width change yardage?
Yes. Wider strips mean fewer strips can be cut from the same usable fabric width. Enter the strip width you plan to use.
Why add extra binding length?
Corners and joined strips use length. The calculator makes its allowance visible, but your method may need a different check.
Quilt math, without the second-guessing
One short email when a new guide or calculator lands. No sales sequence.
You're agreeing to quilt-math emails from Stitchtale. Unsubscribe any time; this is separate from signing in.