
Foundation paper piecing
FPP section numbering explained: how to follow the sewing order
FPP numbers are instructions, not fabric labels alone. They tell you which patch establishes a section and which seam you sew next.
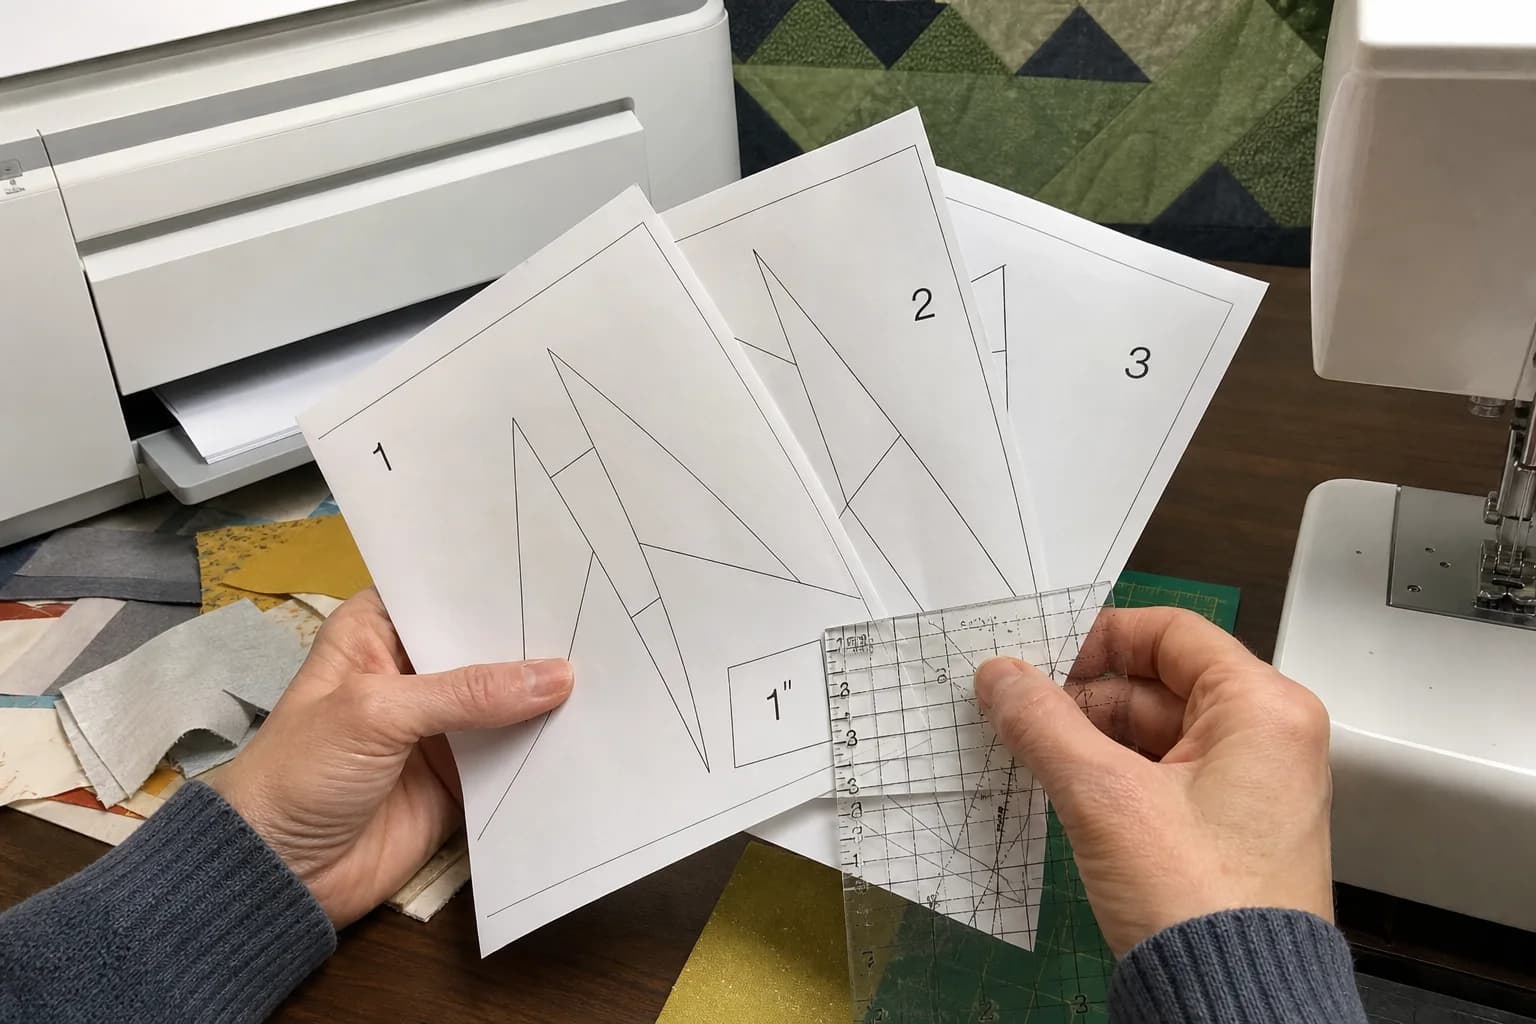
At the cutting table
What to notice first
- How section labels differ from patch numbers
- Why patch 1 goes down first
- How to check coverage before sewing
- How to keep sections organized
Read the section name before the patch number
An FPP packet often divides a block into foundations such as A, B, C, or A1, A2, B1. The section name tells you which sheet or part of the block you are building. The patch numbers inside that section tell you the sewing sequence. Finish each foundation section separately, then use the assembly map to join A to B and the finished units into the block.
Put each printed section in its own small pile with its fabric notes. If the pattern uses “A1” to mean a fabric as well as a section name, add your own plain-language note on a sticky tab. The point is not fancy organization. It is being able to pick up a foundation tomorrow and know exactly which diagram and fabric pull belong to it.
Patch 1 is placed, not sewn to a previous patch
Patch 1 sits behind the first numbered area, wrong side of fabric against the unprinted back of the foundation. Hold the page to a light or fold the first seam line to make sure it covers the entire patch-1 area with some room beyond the surrounding seams. It needs that extra fabric because later seams consume a seam allowance.
Patch 2 is the first piece you add with a seam. Put its right side against the right side of patch 1, positioning the two fabrics so that after you sew on the line between 1 and 2, patch 2 can flip open to cover its whole numbered area. The number 2 is not a tiny shape to trace and cut. It is a coverage target after flipping.
Use the fold-and-flip check every time
- Find the line between the completed patch and the next numbered patch.
- Fold the paper on that line with the printed side facing you.
- Place the new fabric so its right side meets the fabric already in place.
- Hold it as though it has been flipped open and verify it covers the next numbered area plus a little margin.
- Sew on the line, flip open, press, and only then move to the next number.
This check feels slow for the first section. It becomes fast, and it catches the two mistakes that waste the most fabric: a piece sewn on the wrong side of the line and a piece too small to cover after flipping.
Number order is construction order, not color order
A blue patch might be number 8 in one section and number 2 in another. Use the fabric key or color diagram to choose the fabric; use the number to decide when that fabric joins. When changing colors for a scrappy version, mark the key first, then keep the numbered order intact. The paper has no idea whether you chose teal or mustard, but it does depend on the next seam arriving from a workable edge.
At the machine: a quick verbal check
- “I am on section ___.”
- “This is patch ___, added across this printed line.”
- “When it flips, it covers this whole numbered space.”
- “The fabric I see is the intended side after pressing.”
- “I have not trimmed the outside section yet.”
Finish one foundation before joining it
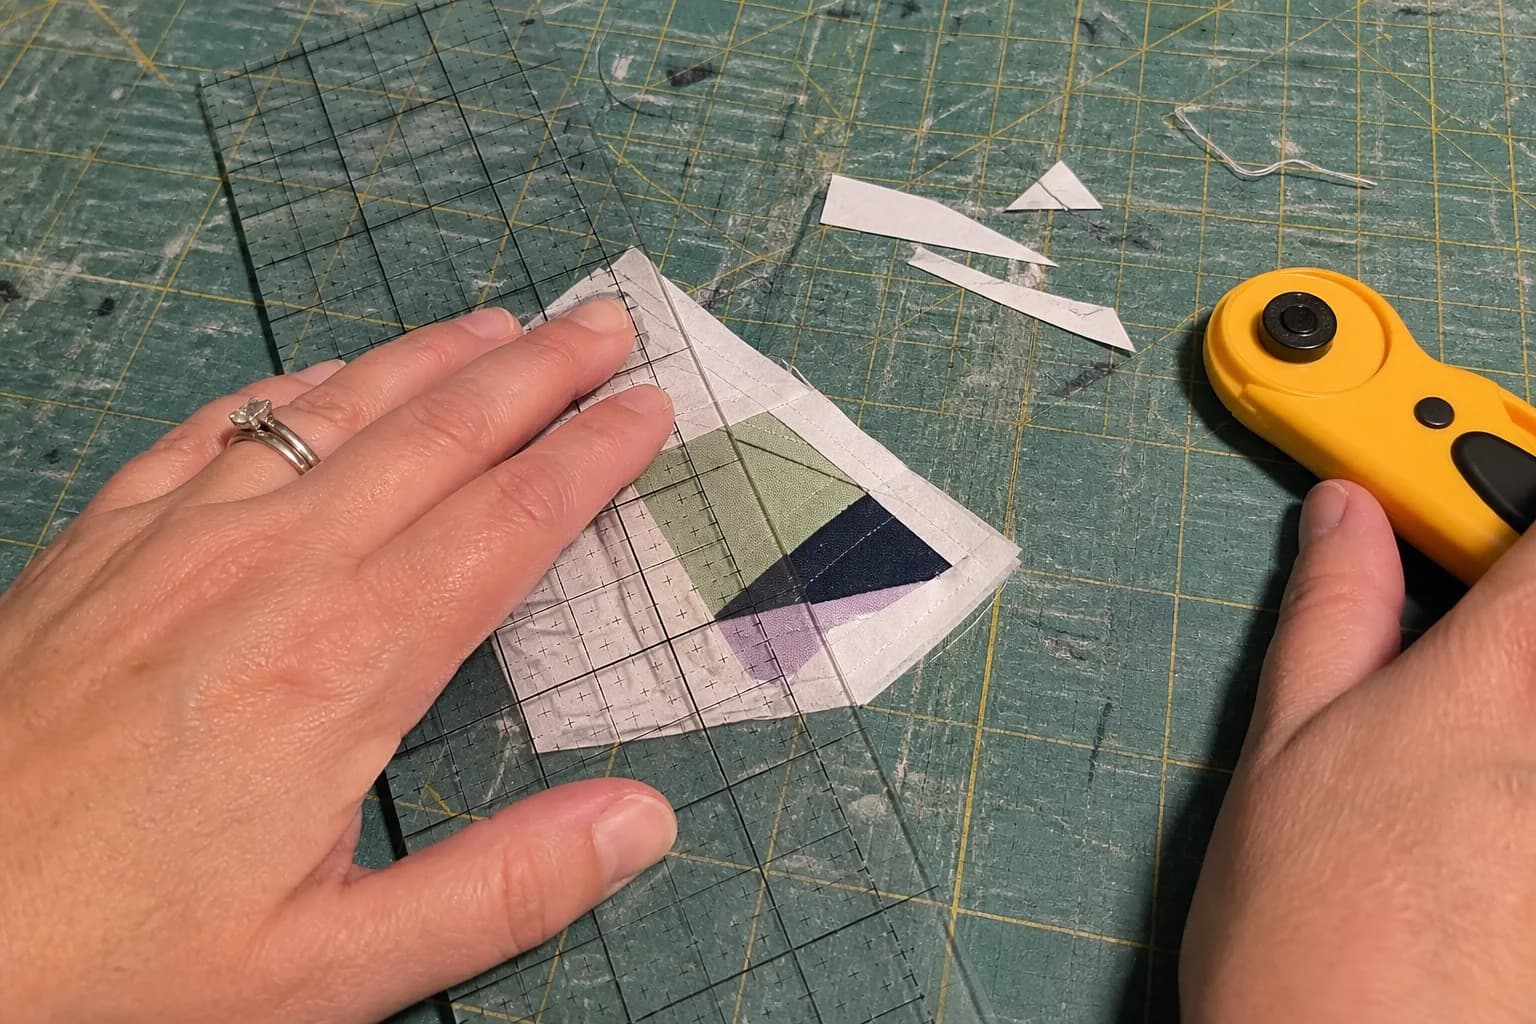
When the last patch is pressed, trim the foundation only on the marked outer trim line, leaving the allowance outside it as directed. Do not remove all the paper before joining if the pattern expects the foundation to keep the edge stable. Then compare the completed section with the assembly diagram. The section may look backwards from the paper's printed side once turned over; match labels and seam positions instead of relying on a quick glance.
Numbering makes a foundation sewable only when the page also has readable lines, scale, trim guidance, and a joining map. See what an FPP pattern needs and how to preserve seam allowance while trimming before completing a whole set.
The questions that come up next
Common questions
Do I sew the numbers in numerical order?
Within one foundation section, the printed patch numbers normally indicate the order: start with 1, then add 2 across the line between them, then 3, and so on. Follow the designer's instructions if a pattern uses a different notation.
Why is there more than one number 1 on my pattern?
Each labeled foundation section begins its own sequence. A1 and B1 are starts of different sections, not duplicate patches in one sewing run.
Can I swap two fabrics without changing the numbers?
You can often substitute fabrics if the pattern's placement is a choice you want to change, but the sewing order remains tied to the foundation. Check that contrast and directional prints still work before cutting.
Quilt math, without the second-guessing
One short email when a new guide or calculator lands. No sales sequence.
You're agreeing to quilt-math emails from Stitchtale. Unsubscribe any time; this is separate from signing in.