
Foundation paper piecing
How to trim FPP sections without losing seam allowance
In FPP, trimming is not tidying up. It defines the size of a finished section and preserves the fabric beyond the line needed to join it.
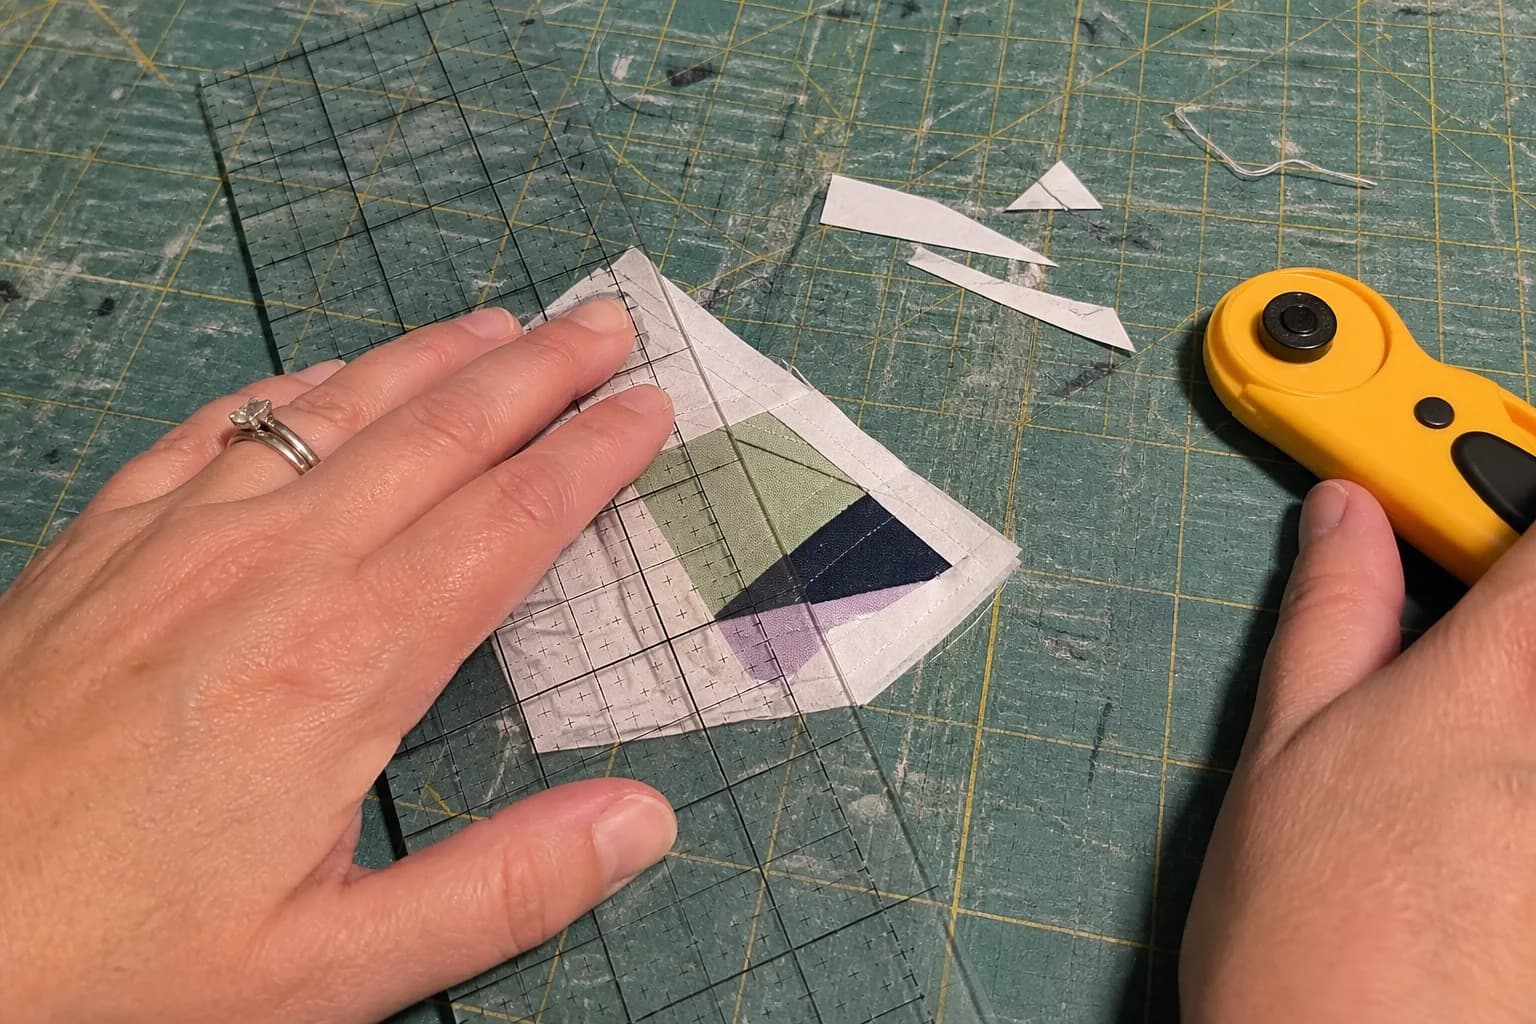
At the cutting table
What to notice first
- The difference between construction and trim lines
- When to trim seam bulk
- How to trim an outer section edge
- What to leave for the next seam
There are two kinds of trimming in FPP
First, there is seam trimming while you build the foundation. After a seam is sewn and the new patch flips open, you may trim the seam allowance to reduce bulk, especially where several seams will meet. Second, there is outer-edge trimming after a foundation section is complete. That trim establishes the section's finished size and leaves a consistent allowance for joining it to another section.
These jobs use different reference points. A seam trim follows the seam you just made. The outer trim follows the foundation's printed trim line. Do not use a casually trimmed inner seam as evidence that the outside edge is ready to cut.
Find the three lines before the cutter comes out
Most foundations show solid construction lines between numbered areas, a trim line around the finished section, and an outer boundary beyond the trim line. The construction line is where you sew. The trim line is the finished edge of the section. The outer boundary is commonly the seam allowance. Verify the pattern's key, because line styles vary.
Place the printed side up when trimming the outside. Align your ruler exactly with the trim line, then cut outside it at the stated seam allowance. If the foundation already includes a solid outer cutting boundary, use that boundary rather than estimating. The strip of fabric between the two lines is not waste: it is what lets the next seam exist.
Trim seams with enough room to stay strong
After sewing a patch, fold the paper back on the sewn line with a postcard, folding tool, or ruler. Trim the fabric seam allowance to the width your pattern recommends, then flip and press. Keep fingers behind the blade and use a small cutter when the space is tight. If a seam is unusually short or lands near a sharp point, trim cautiously. A narrow, clean seam is helpful; a seam cut too close to the stitching can fray or open under handling.
Some makers wait to reduce inner seams until a section is complete, especially when the foundation has many close intersections. Either approach needs one test: can the next fabric lie flat and cover its numbered area? If bulk prevents a clean flip, deal with it before adding another patch.
Outside-edge trim routine
- Complete and press all numbered patches in the section.
- Check that every numbered area is covered before trimming.
- Locate the pattern's finished trim line and the allowance beyond it.
- Place the ruler on the printed side and cut on the stated outer boundary.
- Leave the paper attached until the pattern's joining instructions say otherwise.
Check a section before it meets a neighbor
After trimming, compare the section's label and edge marks with the assembly map. The printed foundation might be viewed from the opposite side once you turn it over, so use the labels and line positions to orient it. Match the stated seams, pin or clip where the pattern directs, and sew the joining seam with the same allowance the section was designed to retain.
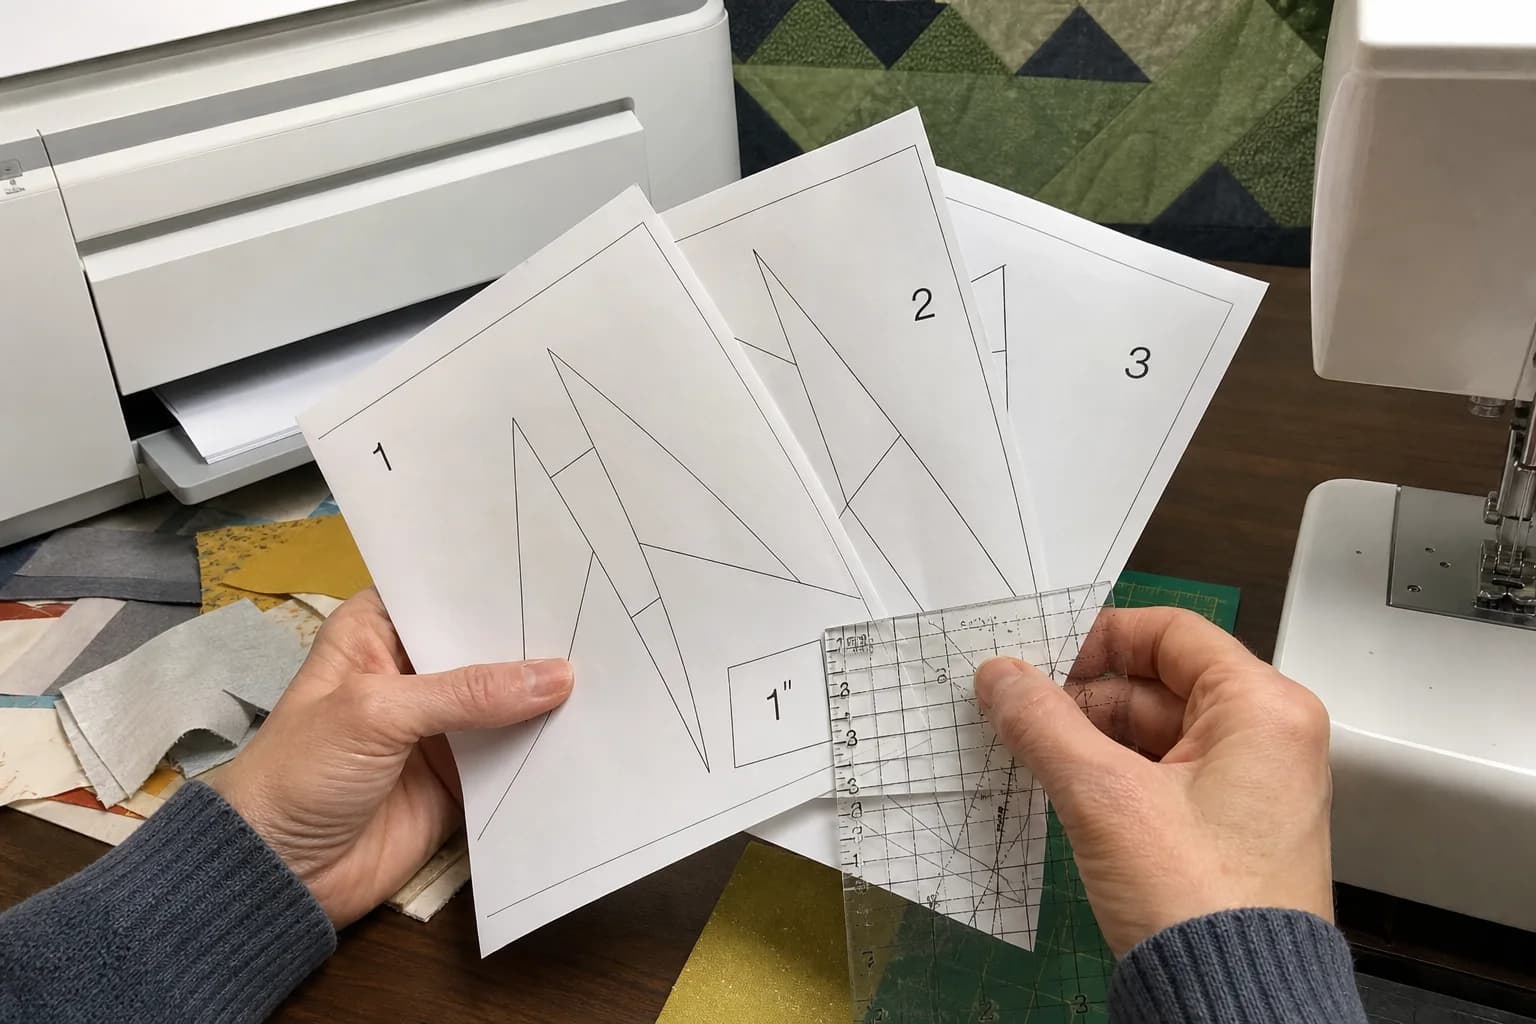
If the edge looks smaller than expected, stop before forcing it to fit. Confirm that the page printed at 100%, that you used the outer cutting boundary rather than the trim line itself, and that the pattern is asking for finished versus unfinished measurements. A ruler check is gentler than trying to stretch a section into place.
Paper removal comes after stability
Paper is typically removed after the seams around it are secure enough for the pattern's method. Short stitch length can make removal easier, but follow the directions for your foundation material. Pull gently from the seam outward rather than tugging fabric across a bias edge. Press only as the fabric and pattern directions allow; aggressive pressing can distort a delicate section.
Read the numbered sewing order if the next seam is unclear, and return to the print-scale check if a trimmed section is consistently the wrong size.
The questions that come up next
Common questions
Should I trim every seam allowance in FPP?
Follow the pattern and use judgment around bulky intersections. Many makers reduce seam bulk as they go, but the crucial trim is the outer section edge, where you must retain the joining allowance outside the marked trim line.
Why is there fabric outside the FPP trim line?
That outer fabric is the seam allowance used to join the completed section to another section or unit. Cutting directly on the finished edge would leave nothing to sew with.
Can I use any ruler to trim FPP?
Use a ruler with a clear straight edge and enough surface to hold the section stable. A small rotary cutter and a clean cutting mat help, but the pattern's marked line matters more than the brand of ruler.
Quilt math, without the second-guessing
One short email when a new guide or calculator lands. No sales sequence.
You're agreeing to quilt-math emails from Stitchtale. Unsubscribe any time; this is separate from signing in.