
Pattern basics
How to read a quilt pattern before you make the first cut
A pattern is easier to follow when you read it like a road map, not like a novel. Gather the facts that affect your fabric and your first unit, then keep the next instruction in sight as you sew.
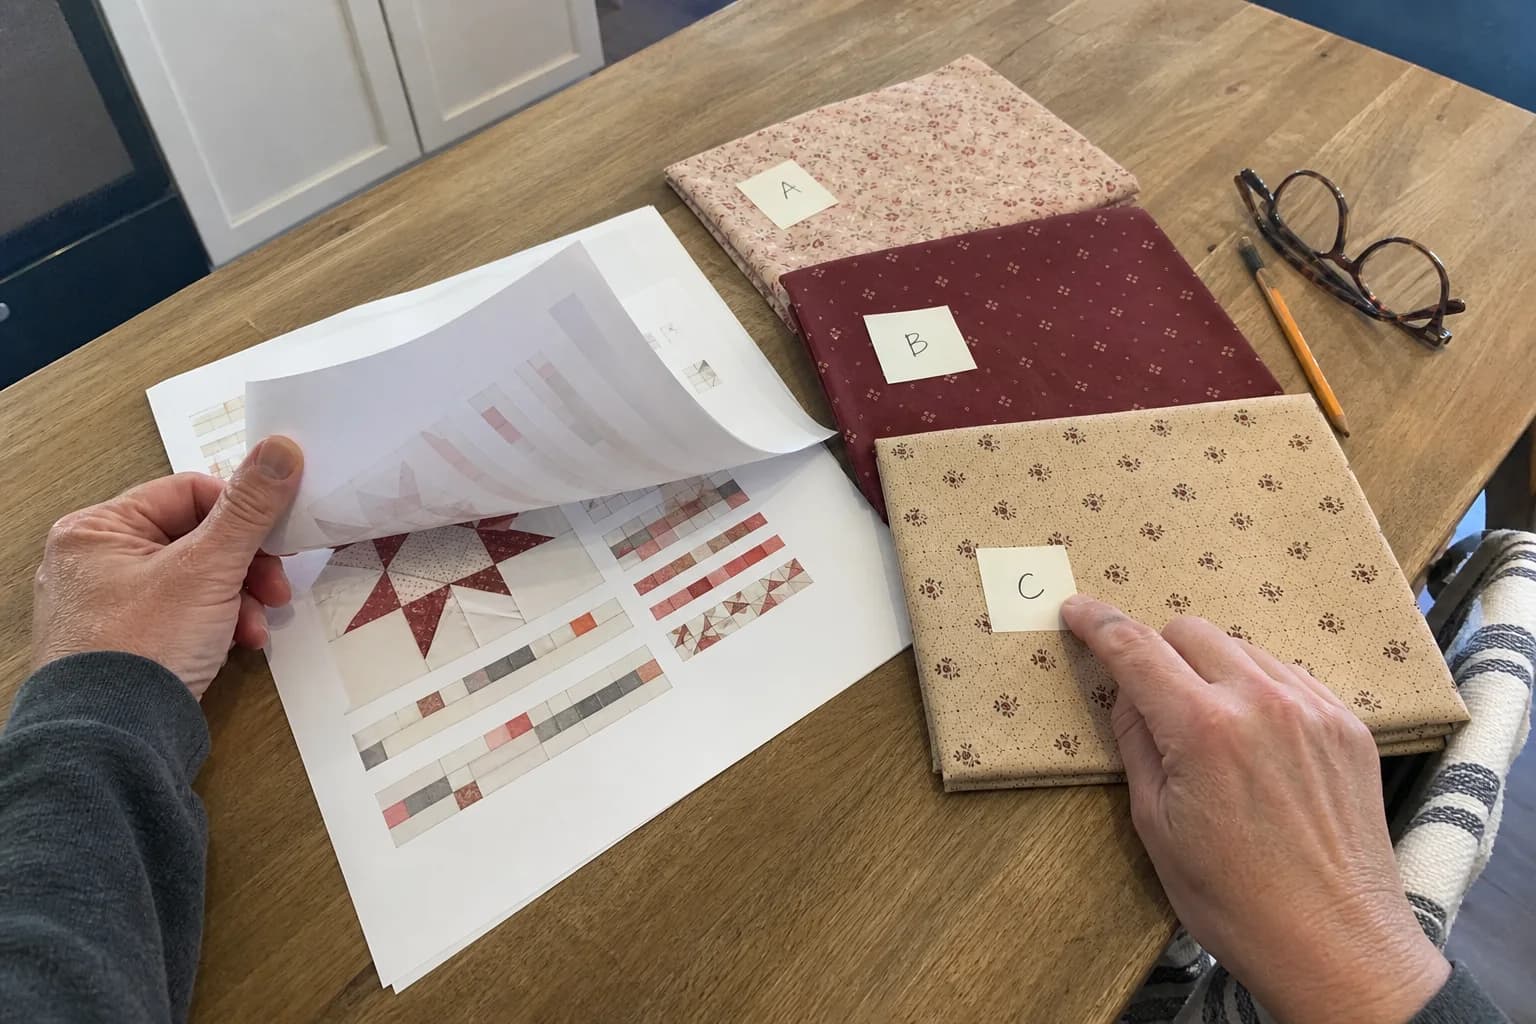
At the cutting table
What to notice first
- Where the useful facts usually live
- How to match a fabric key to the diagram
- What to mark before cutting
- When to pause and ask a question
Start with the project facts, not the cover photo
The cover is there to help you recognize the quilt. It may show several colorways, styling props, or a cropped photograph. Begin instead with the page that names the finished quilt size, the finished block size if there is one, and the technique. Those three facts tell you whether you are looking at rotary-cut patchwork, templates, foundation paper piecing, appliqué, or a mix.
Keep a pencil and a sticky note beside the pattern. Circle the size you are making. Many patterns include throw, twin, and bed sizes in the same document, often in different brackets or colors. Choose one notation and mark it everywhere before you copy a single number into a cutting list. A missed size change is one of the easiest ways to make a pile of pieces that cannot belong to the same quilt.
Make the materials list yours
Read the materials list line by line, then compare it with your fabric pull. Notice whether yardage is for a specific quilt size, whether background and binding are listed separately, and whether a fabric is used in more than one place. A pattern may call something “Fabric A” while you call it navy floral. Write your own description beside each letter. When you are sewing late in the day, “A = navy floral” is kinder than trying to remember which blue was which.
Yardage is a plan for the stated design, not a promise that every substitution will behave the same. Directional prints, pre-cuts, fussy cutting, wider seams from a mistake, and personal layout changes can use more. If you are changing the size or placement, treat the printed number as a starting point and work the new requirements out before shopping.
Read the cutting list as a labeling job
A good cutting list gives a fabric, a cut size, a shape, a quantity, and sometimes a label. Read the column headings first. “Cut 12 squares 3½ inches” is different from “make 12 unfinished 3½-inch units.” If a pattern says “cut 2 strips 2½ × WOF,” it means strips across the usable width of fabric, not a finished two-and-a-half-inch piece.
Cut and label one fabric group at a time. A small stack of paper clips, painter's tape, or labeled trays can keep similarly sized squares from wandering into the wrong block. Keep pieces that will be subcut together with the strip they came from until the next instruction confirms the count. That small bit of organization saves a surprising amount of unpicking.
Let the diagram explain placement, not replace instructions
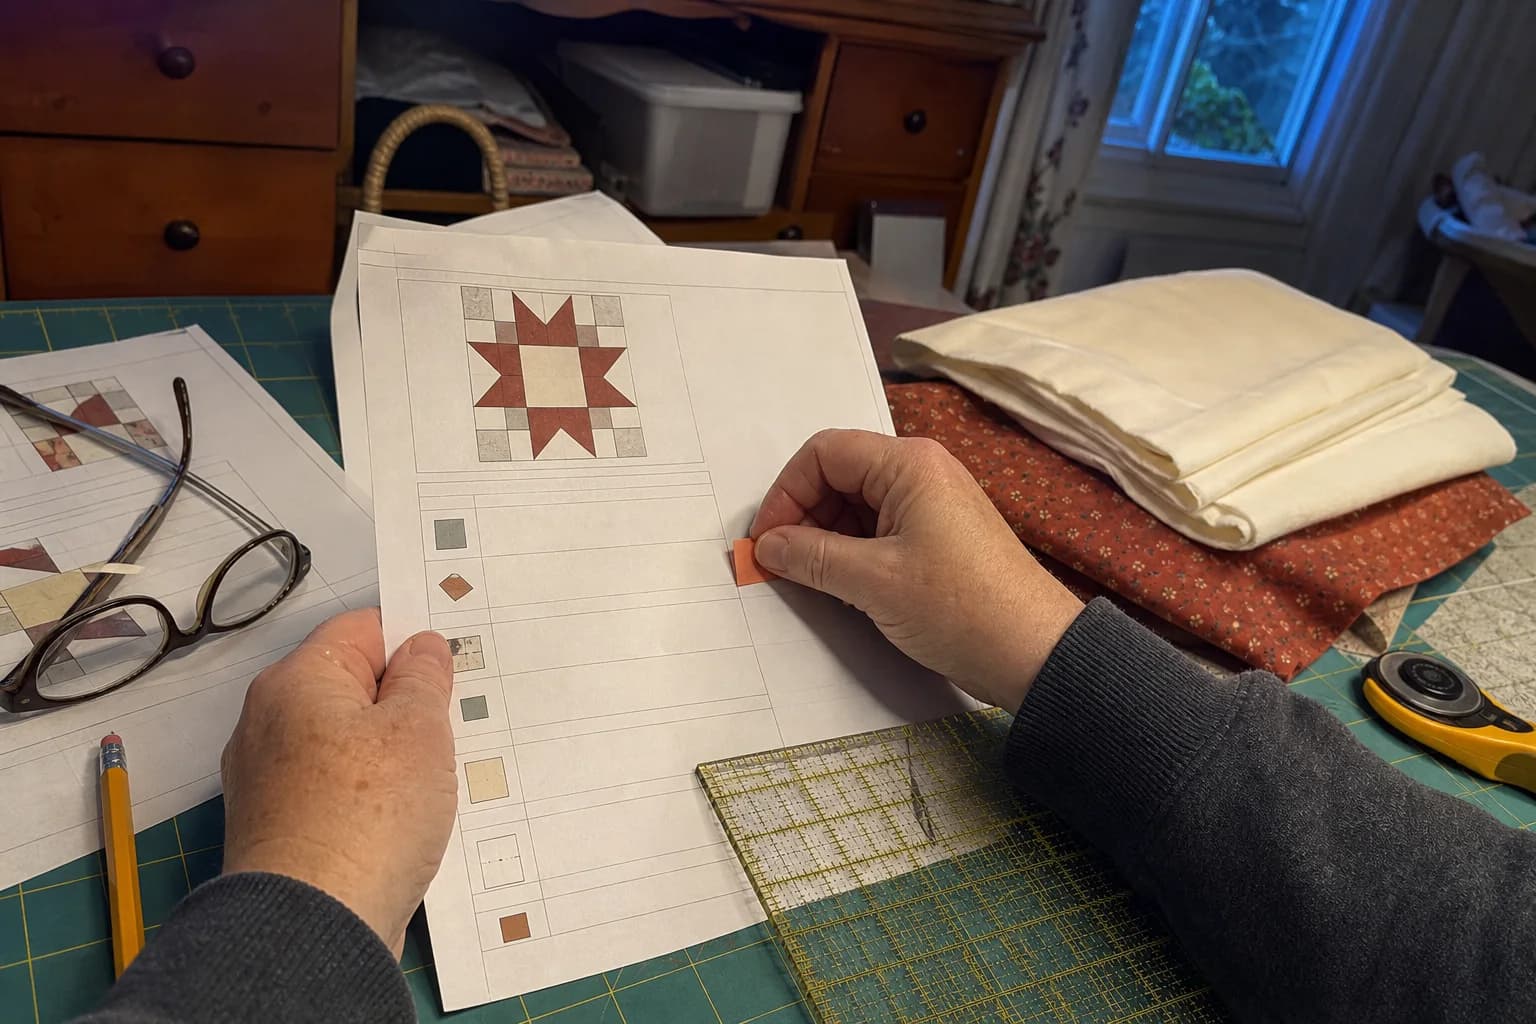
Assembly diagrams are excellent for orientation. They show which way a triangle points, where a unit rotates, and how rows sit next to one another. They do not always show seam allowance, pressing direction, or every intermediate trim. Read the written step, then look at the matching diagram. If a unit is mirrored, hold your fabric pieces against the diagram before sewing. A turn in the wrong direction can make a perfectly sewn unit unusable.
A five-minute pattern map
- Mark your quilt size and finished measurements.
- Write a plain-language name beside every fabric letter.
- Find the seam allowance and any special ruler or template.
- Flag the first block or unit, its diagram, and its trimming point.
- Find the final layout page so you know what “right” should look like.
Follow the order that protects accuracy
Patterns usually place accuracy-sensitive steps early: making units, checking an unfinished size, trimming, then joining blocks. Do not skip a stated measurement check because the pieces look close. A unit that is a little oversized can often be trimmed; a unit that is undersized may need to be remade before it makes every neighboring seam harder.
Pressing notes matter too. “Press open,” “press to the dark,” and “press toward the sashing” are instructions for controlling bulk and matching seams. If your preferred pressing method differs, test it on the first unit and see whether nested seams and finished measurements still work. A personal preference is fine when it does not quietly change the result the pattern depends on.
Know the difference between a missing detail and a choice
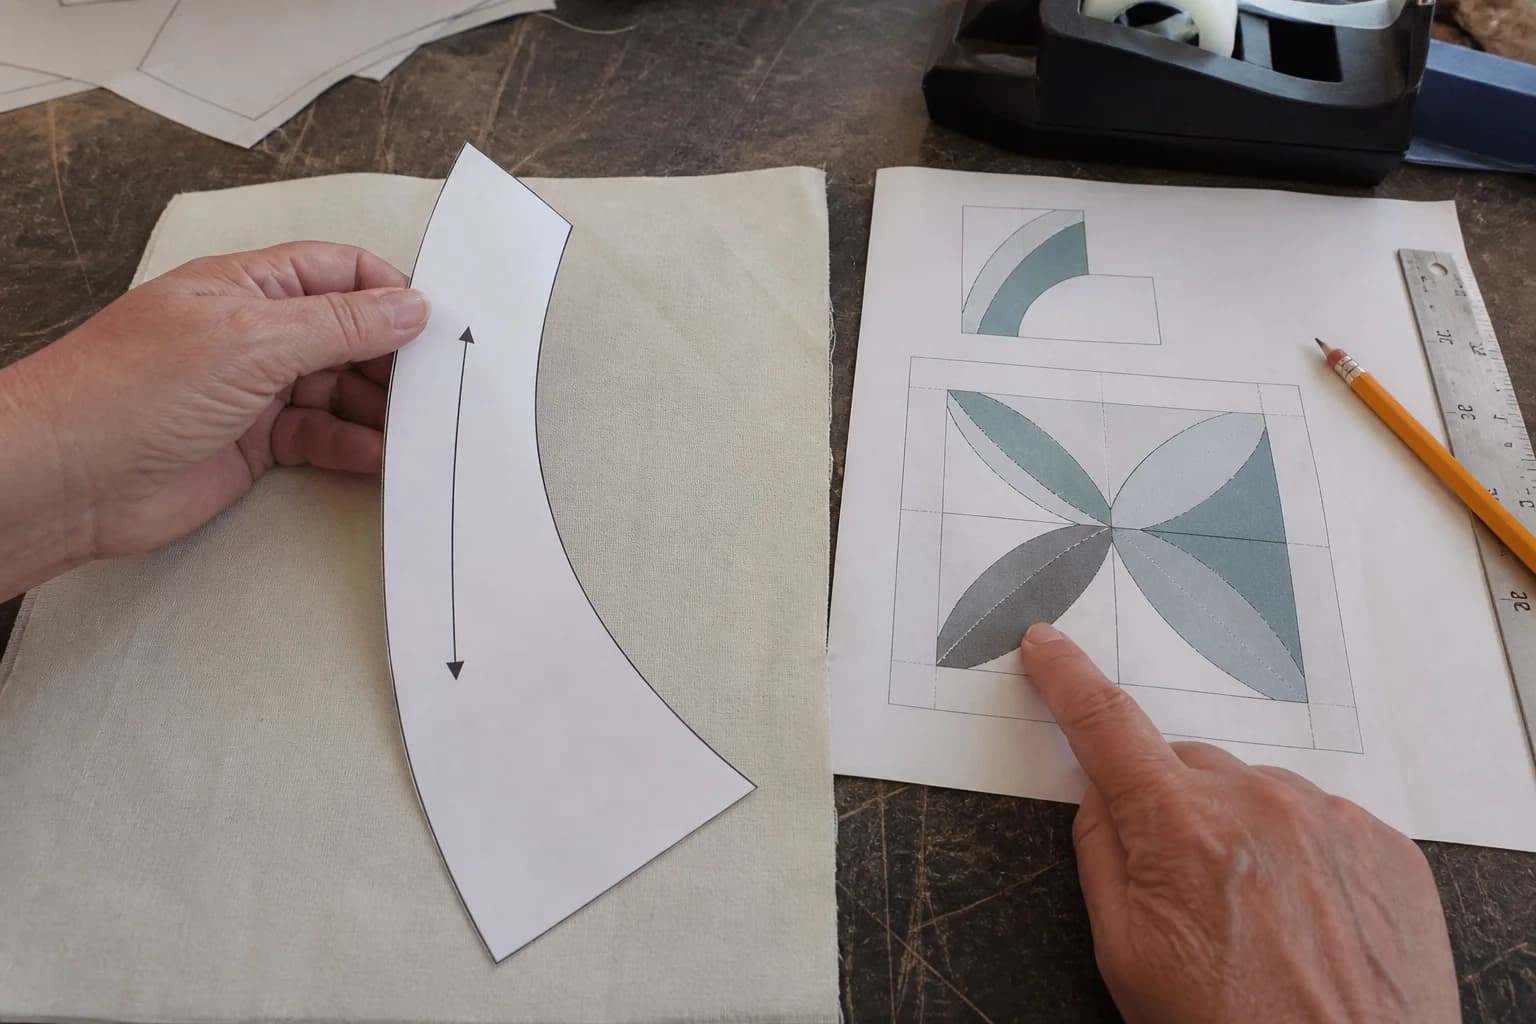
Some choices are yours: fabric personality, quilting design, and whether to make a scrappy version. Other details must come from the pattern or a confirmed source: template scale, cut dimensions, a specialty ruler's use, or the joining order for unusual units. Do not fill those in from a cover photo. If the pattern is missing a needed answer, put the project on pause until you can locate an errata notice or ask the designer.
That pause is not a failure of confidence. It is ordinary pattern reading. When you need a final safety pass, use the pre-cut checklist. For a page of shapes rather than instructions, read pattern versus template next.
The questions that come up next
Common questions
Do I need to read every page before I start?
Read the cover notes, materials list, cutting instructions, technique notes, and the assembly overview before cutting. You do not need to memorize every later step, but you should know what method and measurements the project expects.
What does finished size mean?
Finished size is the measurement after the seams are sewn. A cut piece is normally larger because its edges include seam allowance. Use the pattern's own labels instead of assuming the two measurements are interchangeable.
What if the diagram and words seem to disagree?
Stop before cutting more pieces. Check whether the diagram is showing a finished block, a pressed unit, or a mirrored view. If it remains unclear, look for the designer's errata or ask for clarification.
Quilt math, without the second-guessing
One short email when a new guide or calculator lands. No sales sequence.
You're agreeing to quilt-math emails from Stitchtale. Unsubscribe any time; this is separate from signing in.