
Quilting fundamentals
The quarter-inch quilt seam allowance: how to check yours
In many conventional quilt patterns, a quarter-inch seam allowance is part of the measurement system. The useful goal is not chasing a label on a presser foot. It is making a consistent seam that lets a test unit finish at the size the pattern expects.
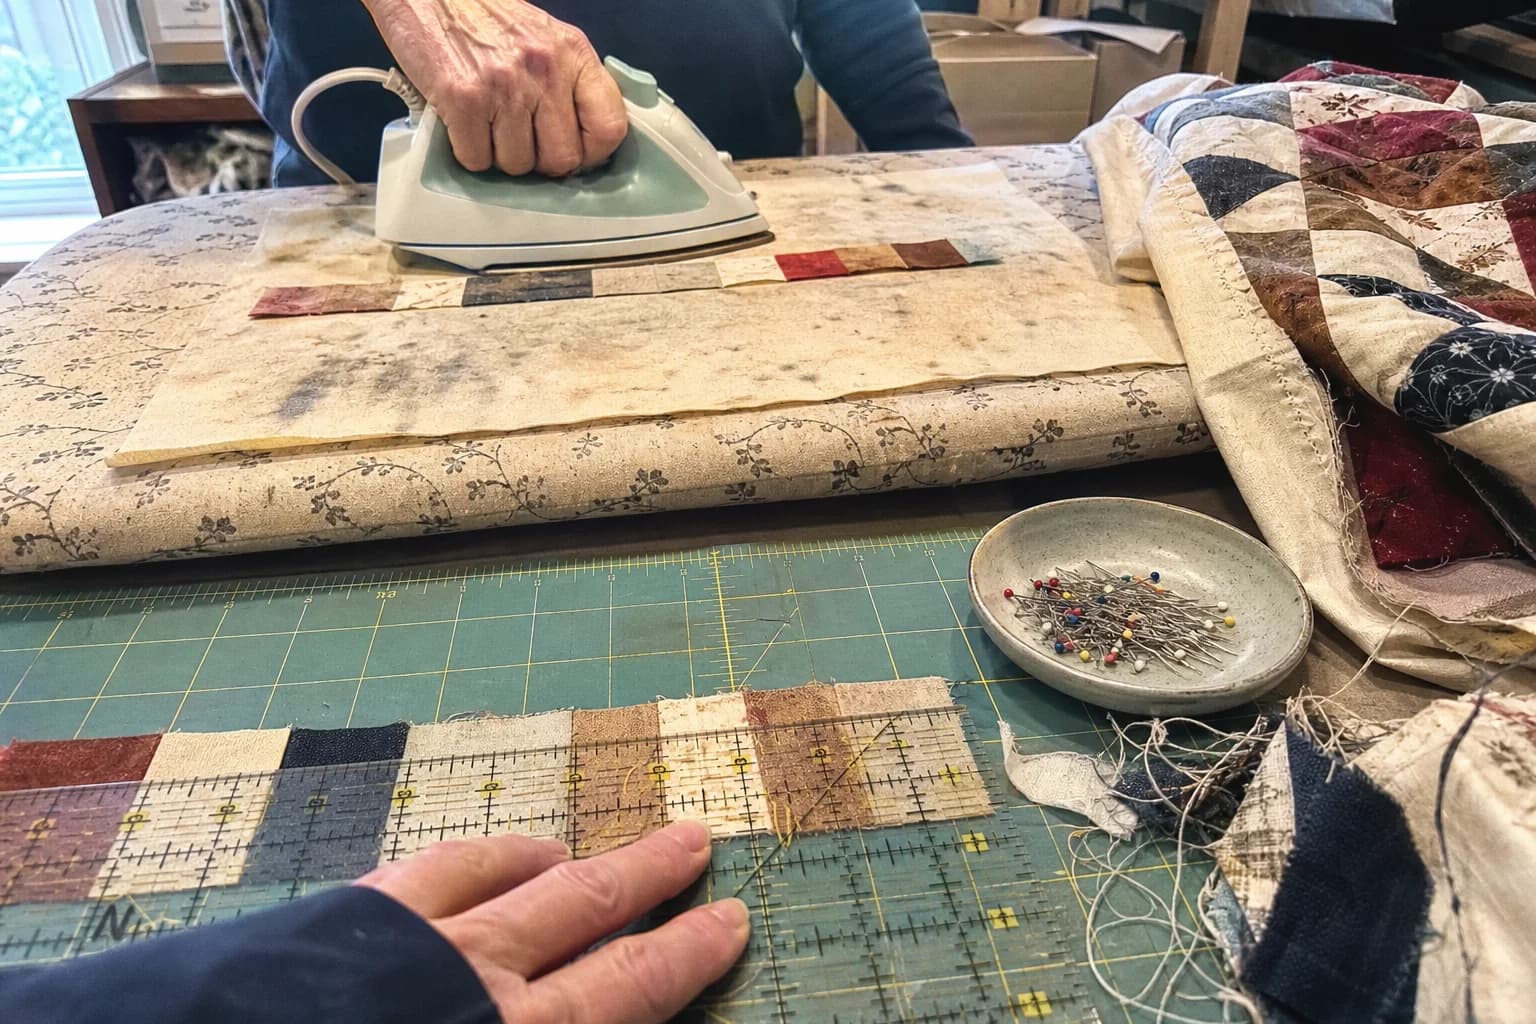
At the cutting table
What to notice first
- What a seam allowance is
- Why consistency affects blocks
- A quick test-unit check
- When pattern instructions lead
A seam allowance is part of the pattern's math
A seam allowance is the fabric between the stitching line and raw edge. In conventional piecing, a quarter-inch allowance is common because block and unit measurements are designed around it. If the seam is consistently wider, finished units can be smaller. If it is consistently narrower, they can be larger. A small difference repeated across a row can become a stubborn mismatch.
The pattern is the authority for a particular project. FPP, appliqué, garment-style finishing, and specialty methods may use different marks or instructions. Read the method before assuming that every raw edge follows the same rule.
Test at the machine you will use
Presser feet, needle position, thread, fabric thickness, and how you guide fabric can change the seam you actually sew. A marked foot can be helpful, but the finished test unit tells you more than the marking alone. Use scraps from the project when possible, sew two pieces together, press as your pattern directs, and measure the resulting unit.
Worked example
Worked check: two 2½ inch squares
For a simple check, sew two 2½ inch squares together with the seam allowance your pattern calls for. After pressing, the joined unit should measure 4½ by 2½ inches if the seam consumes a quarter inch from each square along the joined dimension. If it does not, adjust your guide and repeat with scraps before cutting a chain of units.
- Cut two 2½ inch test squares.
- Sew and press using the planned method.
- Measure the unit, not the seam marking.
- Adjust the guide if the finished measurement disagrees with the pattern's expected unit.
Consistency is more useful than bravado
Do not judge a seam by whether it looks fast or whether it matches someone else's machine setup. A consistent seam that produces the expected test unit gives you a repeatable reference. Keep the same guide, thread, and handling for the units that depend on it. If something changes, make another test unit.
Keep cut size and finished size separate
A common source of confusion is treating cut dimensions as finished dimensions. A square cut at 2½ inches is not necessarily a 2½ inch finished square after it is sewn into a block. The seam allowance is exactly why those numbers differ. Read how to read quilt cutting instructions before beginning a new pattern, especially when it lists both sizes.
Keep the successful test beside the machine
Leave the measured test unit and your seam guide where you can see them when you begin chain piecing. It is an easy reference when your hands start moving faster than your measurement check.
The questions that come up next
Common questions
Is every quilt seam a quarter inch?
No. Many conventional piecing patterns use it, but follow the stated method for your pattern or technique.
Why are my blocks small?
A seam slightly wider than planned can shrink units across a block. Check with a test unit before cutting more pieces.
Should I sew a scant quarter inch?
Some patterns or methods call for a particular approach. Use the pattern's stated requirement and test the finished unit rather than treating one phrase as universal.
Quilt math, without the second-guessing
One short email when a new guide or calculator lands. No sales sequence.
You're agreeing to quilt-math emails from Stitchtale. Unsubscribe any time; this is separate from signing in.