
Finishing
How to square up a quilt before binding
Squaring up is the moment you decide where the quilt ends. It is easier to bind a clear, straight edge than to ask the binding to correct an uneven one.
Calculate from the trimmed size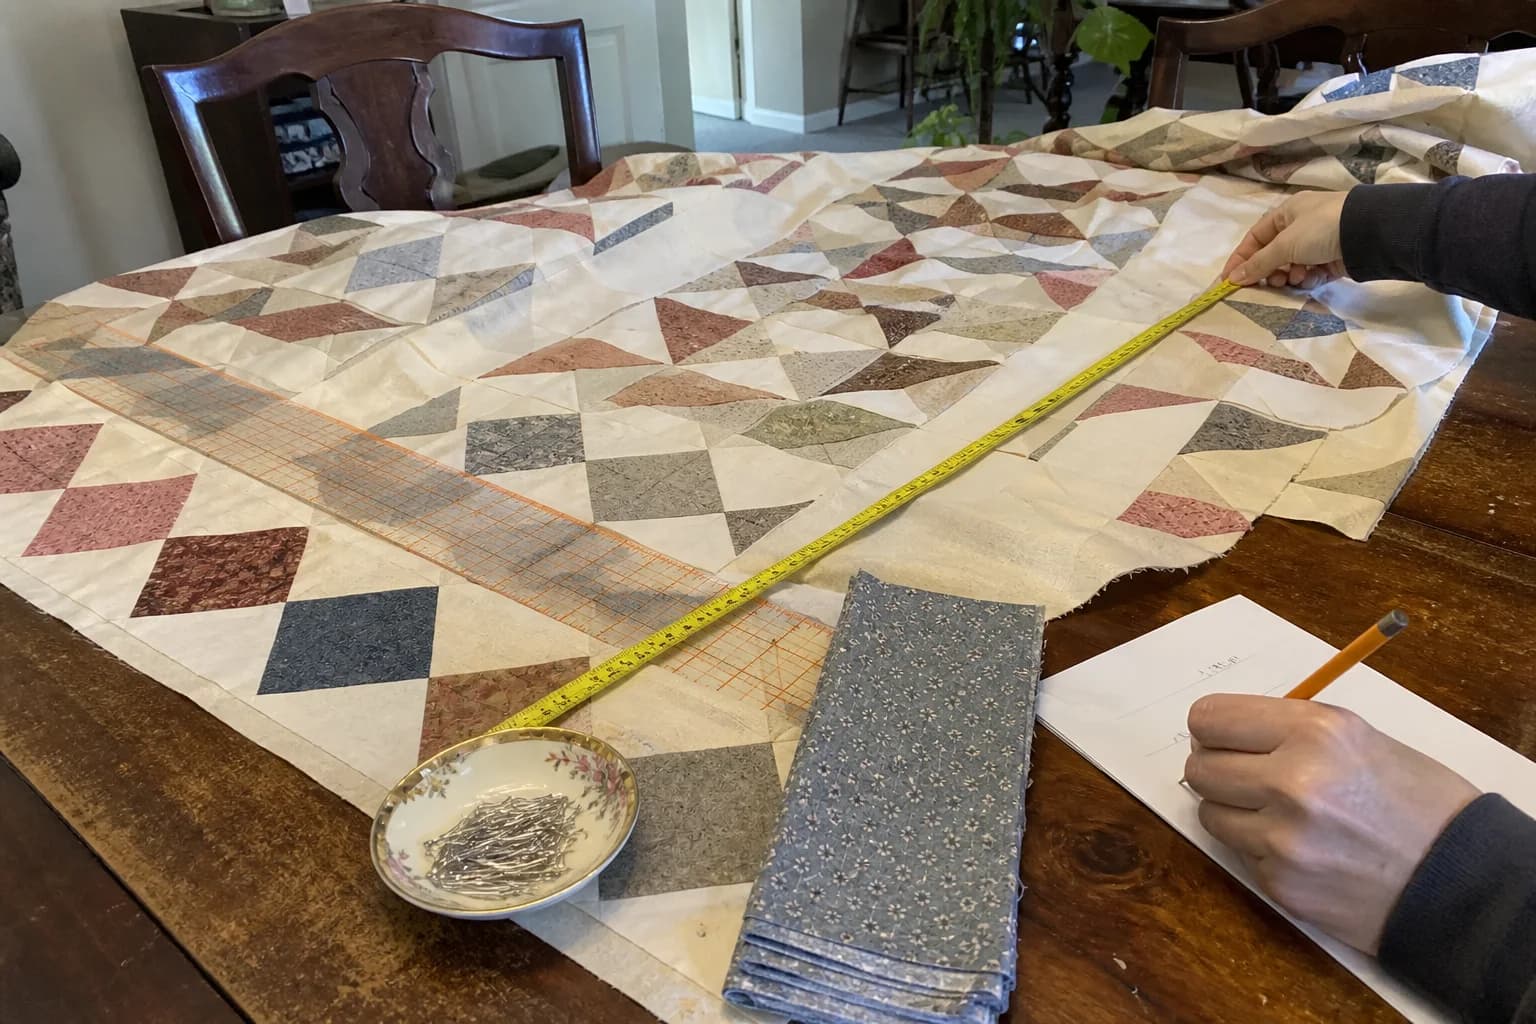
At the cutting table
What to notice first
- What squaring up does
- How to use a reference line
- A careful trimming routine
- When to stop and reassess
Start by deciding what the finished edge should be
Squaring up does not mean trimming until every unusual shape disappears. It means establishing the intended final outline before binding. Look at the pattern, the border design, and the finished-size plan. If a border is intentionally narrow or a point is meant to sit near the edge, protect that decision rather than chasing an abstract perfect rectangle.
Lay the quilt flat on a large cutting surface. Smooth it without stretching it. If quilting has drawn the layers in slightly, let the quilt rest in its natural position rather than pulling one corner to make the numbers behave.
Use a reference line
Choose one edge or seam that is straight and meaningful for the design. Align that reference with the cutting mat or ruler. Trim a small amount to establish one clean edge, then turn and align the next edge from the first. This approach is steadier than trimming all four sides by eye.
Work in small passes. A rotary cutter removes fabric quickly and cannot return it. Keep hands clear of the cutting path and follow the tool maker's safety guidance. If an edge seems dramatically out of line, stop and check the quilt layout instead of making a large corrective cut.
Worked example
Worked routine for a rectangular quilt
- Press or smooth the quilt as appropriate for its materials and quilting.
- Align a known straight seam or border line to the mat.
- Trim a narrow amount to establish the first edge.
- Rotate the quilt and use the new edge as a reference for the adjacent edge.
- Repeat, checking the intended width and length as you go.
- Measure the finished rectangle only after all planned edges are established.
This is a routine, not an instruction to disregard an unusual pattern shape. A scalloped edge, facing, or non-rectangular design needs its own finishing plan.
Check corners and border content
Before the last cut, look at each corner and at points, motifs, or seams close to the edge. A visually balanced border can be more important than forcing a measurement to a round number. Compare opposite borders and decide what you are preserving. If you are unsure, mark the intended trim line with a removable guide and step back before cutting.
Measure after the trim decision
Once the final edge is settled, measure width and length in several places and calculate perimeter for binding. Do not reuse the pre-trim number. The measurement guide gives a simple way to record it, and the binding calculator makes the strip assumptions visible.
Put the ruler down before the last cut
Look once more at corners, border balance, and the intended finished size. If the edge reads as deliberate, measure it and move on to binding rather than trimming for the sake of one more fraction.
The questions that come up next
Common questions
Should I square up before binding?
Often, yes, when the project calls for a trimmed final edge. Decide the trim line before measuring for binding.
Can I trim away a lot to make a quilt square?
Pause before a large trim. It can remove border or block content. Check the cause and your intended finished size first.
Do I need a special ruler?
A long straight ruler and cutting surface can help, but the important thing is a reliable reference line and deliberate, small cuts.
Quilt math, without the second-guessing
One short email when a new guide or calculator lands. No sales sequence.
You're agreeing to quilt-math emails from Stitchtale. Unsubscribe any time; this is separate from signing in.