
Quilting fundamentals
How to read quilt cutting instructions before you cut
A cutting table is a poor place to discover that a pattern's 3½-inch square was a cut size, a finished size, or only one of several similar pieces. Read the list once as a plan before the rotary cutter comes out.
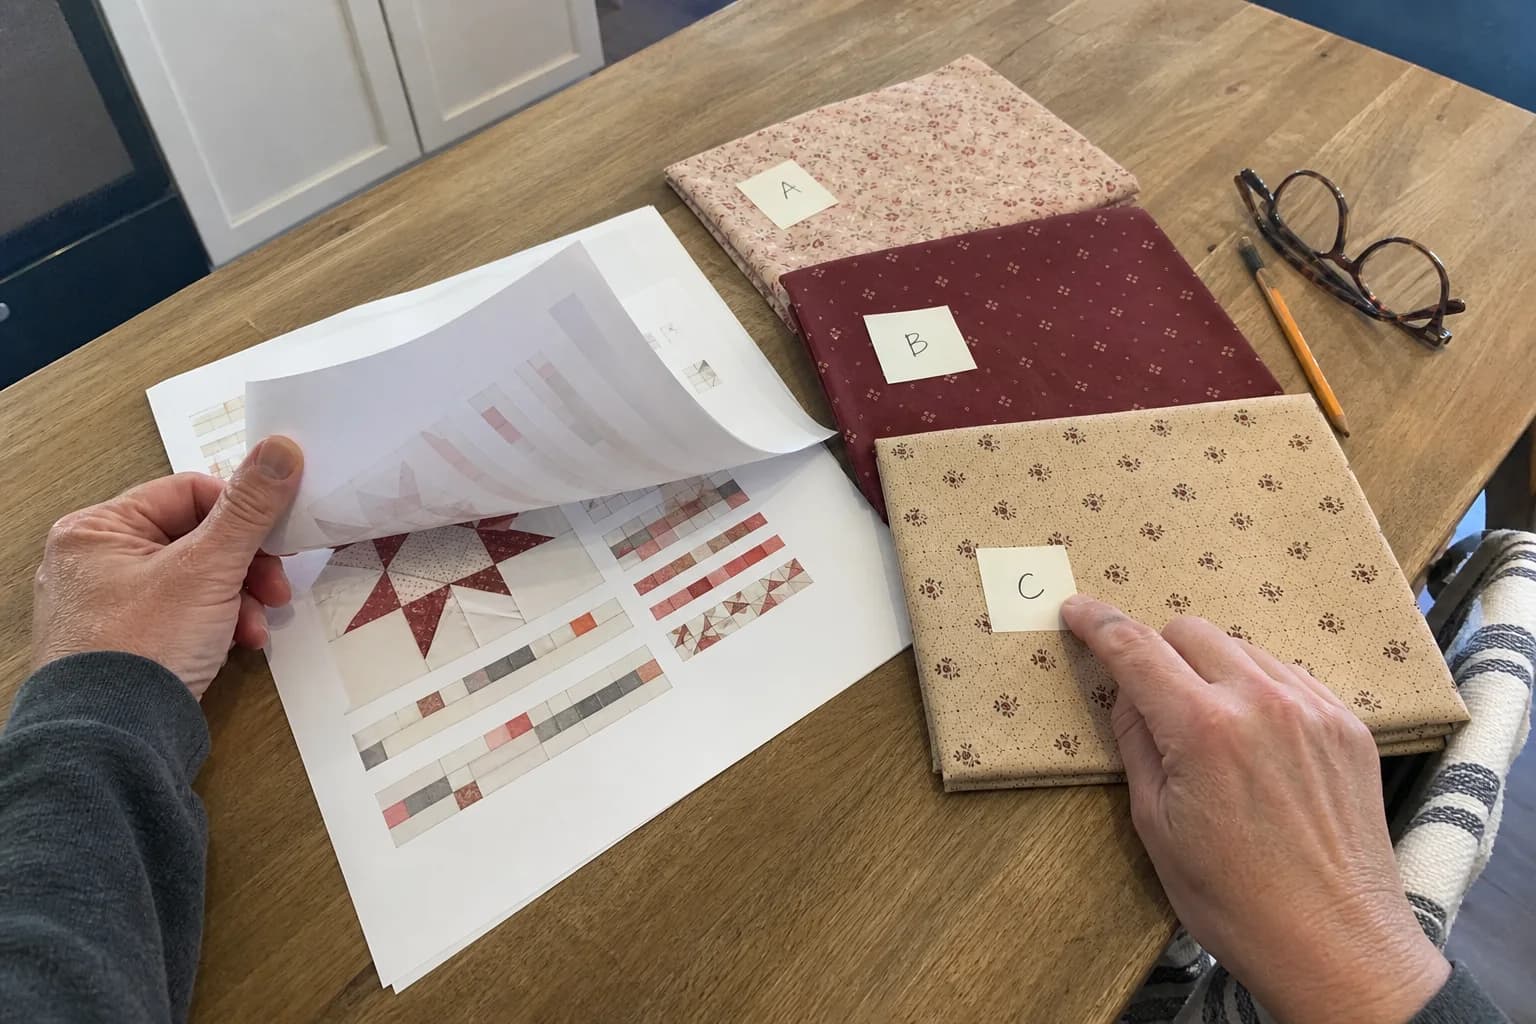
At the cutting table
What to notice first
- How to separate cut and finished sizes
- Why labels and counts matter
- A first-pass reading routine
- What to do with an unclear line
Read for information, not for momentum
Before cutting, find the finished quilt size, fabric key, cutting list, unit or block diagrams, and assembly order. If a pattern uses letters or names for fabrics, copy that key into a notebook or attach a note to each fabric. “Blue print” is easy to confuse with “blue background” after a stack of pieces accumulates.
Look for whether each number is a cut size or a finished size. Patterns may say “cut,” “unfinished,” or “finished”; diagrams and notes often carry the context. Do not silently add or subtract seam allowances when the pattern already states a cut measurement. If the wording is unclear, that is a question to resolve before fabric becomes smaller.
Count pieces against the layout
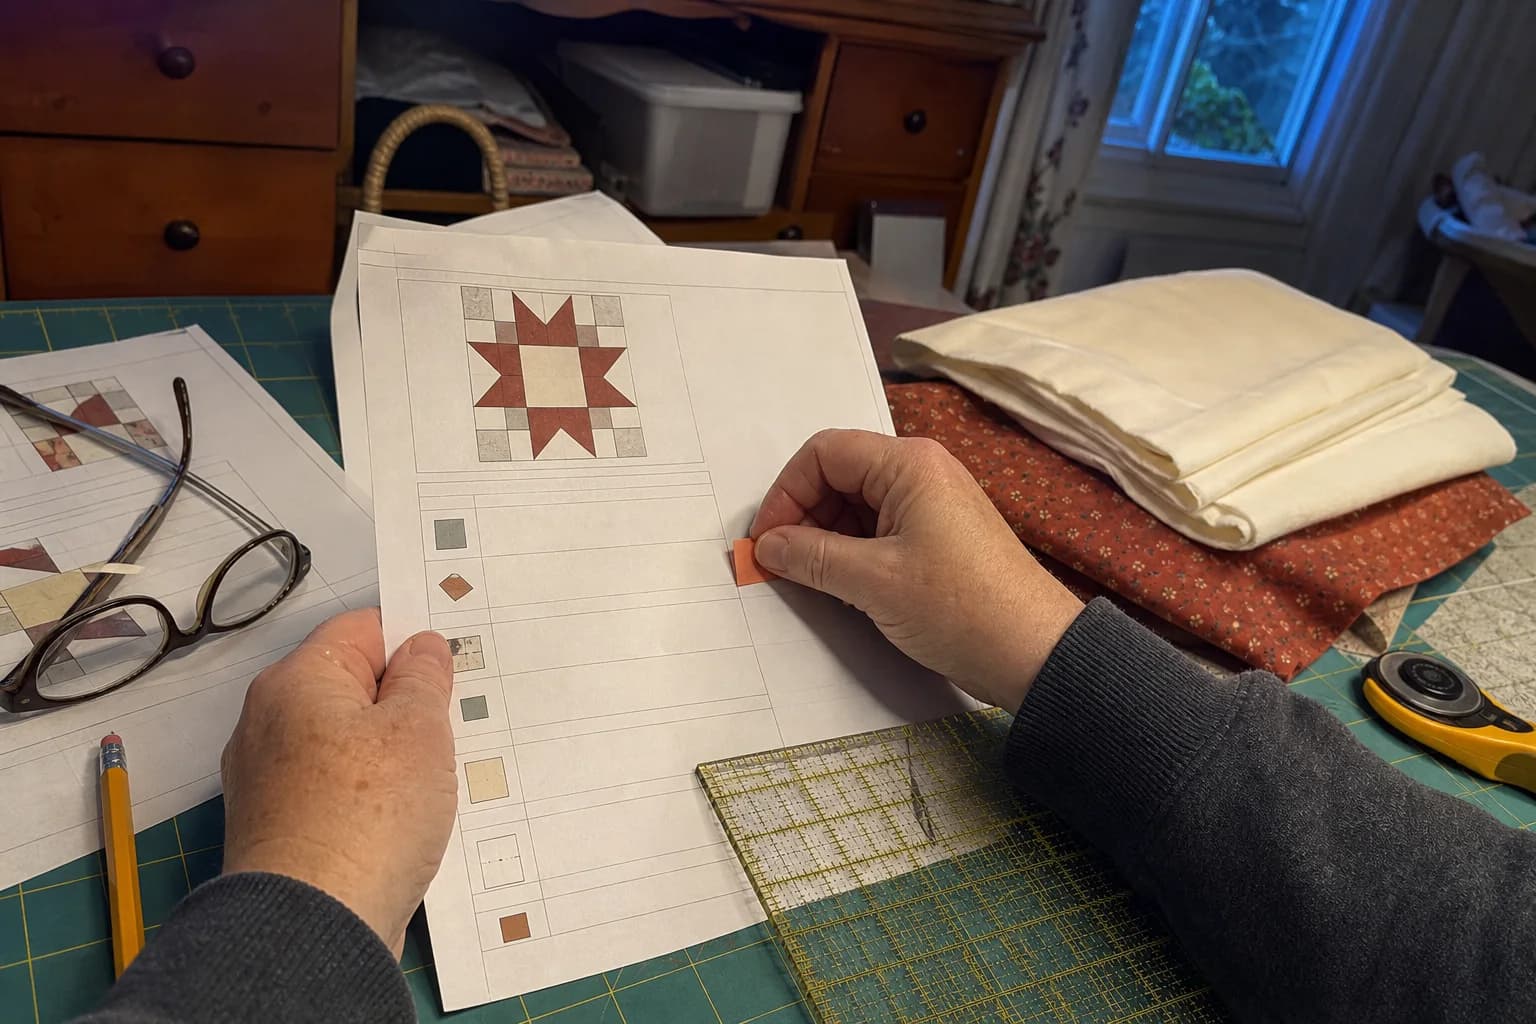
A cutting list tells you quantity as well as size. Compare each line with the block or row diagram. Ask where the pieces appear, whether a unit is repeated, and whether a directional print needs a particular orientation. This is especially useful when two pieces have similar dimensions but different jobs, such as background corners and setting triangles.
Mark a line after it is cut, not before. Keep subcuts grouped and labelled. A small tray or paper label can do more for accuracy than trying to recognize every print later.
Worked example
Worked first-pass checklist
- Write the finished quilt size and block size.
- Match every fabric label to a real fabric.
- Circle every instruction that says cut, unfinished, or finished.
- Count each piece type against the diagram.
- Check whether the pattern specifies a seam allowance or method.
- Make one test unit when the construction is new to you.
This is not slow for its own sake. It is how you find an ambiguity while the fabric can still be reallocated.
Use a test unit as a measurement check
For a repeated block, cut the pieces for one unit and sew it with the stated method. Measure the finished unit against the pattern. If it is off, check seam allowance, cut dimensions, pressing, and whether a cut-size number was mistaken for a finished-size number. The quarter-inch seam guide explains why a consistent seam matters in many conventional patterns.
Do not fill gaps with confidence
A picture can suggest a layout but cannot reliably supply missing cutting information, fabric quantities, or an assembly order. If you are working from an image or an incomplete source, treat it as a planning view rather than a cutting pattern. A quilt picture versus a quilt pattern explains the distinction.
When the instructions are clear, use the fabric list to prepare a purchase plan. Yardage is still an estimate tied to the stated fabric width, directional-print needs, and the pattern's requirements.
Start with the least precious fabric
If a pattern step still feels new after the first read, make the first unit in a substitute fabric or less precious part of the pull. You will learn more from one complete, measured unit than from cutting every piece and hoping the diagram becomes clearer later.
The questions that come up next
Common questions
What is the difference between cut size and finished size?
Cut size is the fabric dimension before seams. Finished size is the dimension after the relevant seams are sewn. The pattern should make the distinction clear.
Should I cut all pieces at once?
It depends on the pattern and your comfort with it. Checking a test unit first can prevent repeating a misunderstood instruction.
What if a cutting instruction seems incomplete?
Stop and consult the pattern's diagrams, notes, errata, or designer before inventing a measurement or construction method.
Quilt math, without the second-guessing
One short email when a new guide or calculator lands. No sales sequence.
You're agreeing to quilt-math emails from Stitchtale. Unsubscribe any time; this is separate from signing in.