
Cutting and construction
Pressing vs. ironing quilt blocks: keep the shape you just sewed
The words get used interchangeably at sewing tables, but the motion matters. Pressing is usually a lift-and-set action. Ironing can mean sliding the iron, which may shift a bias edge or distort a small unit if you are not careful.
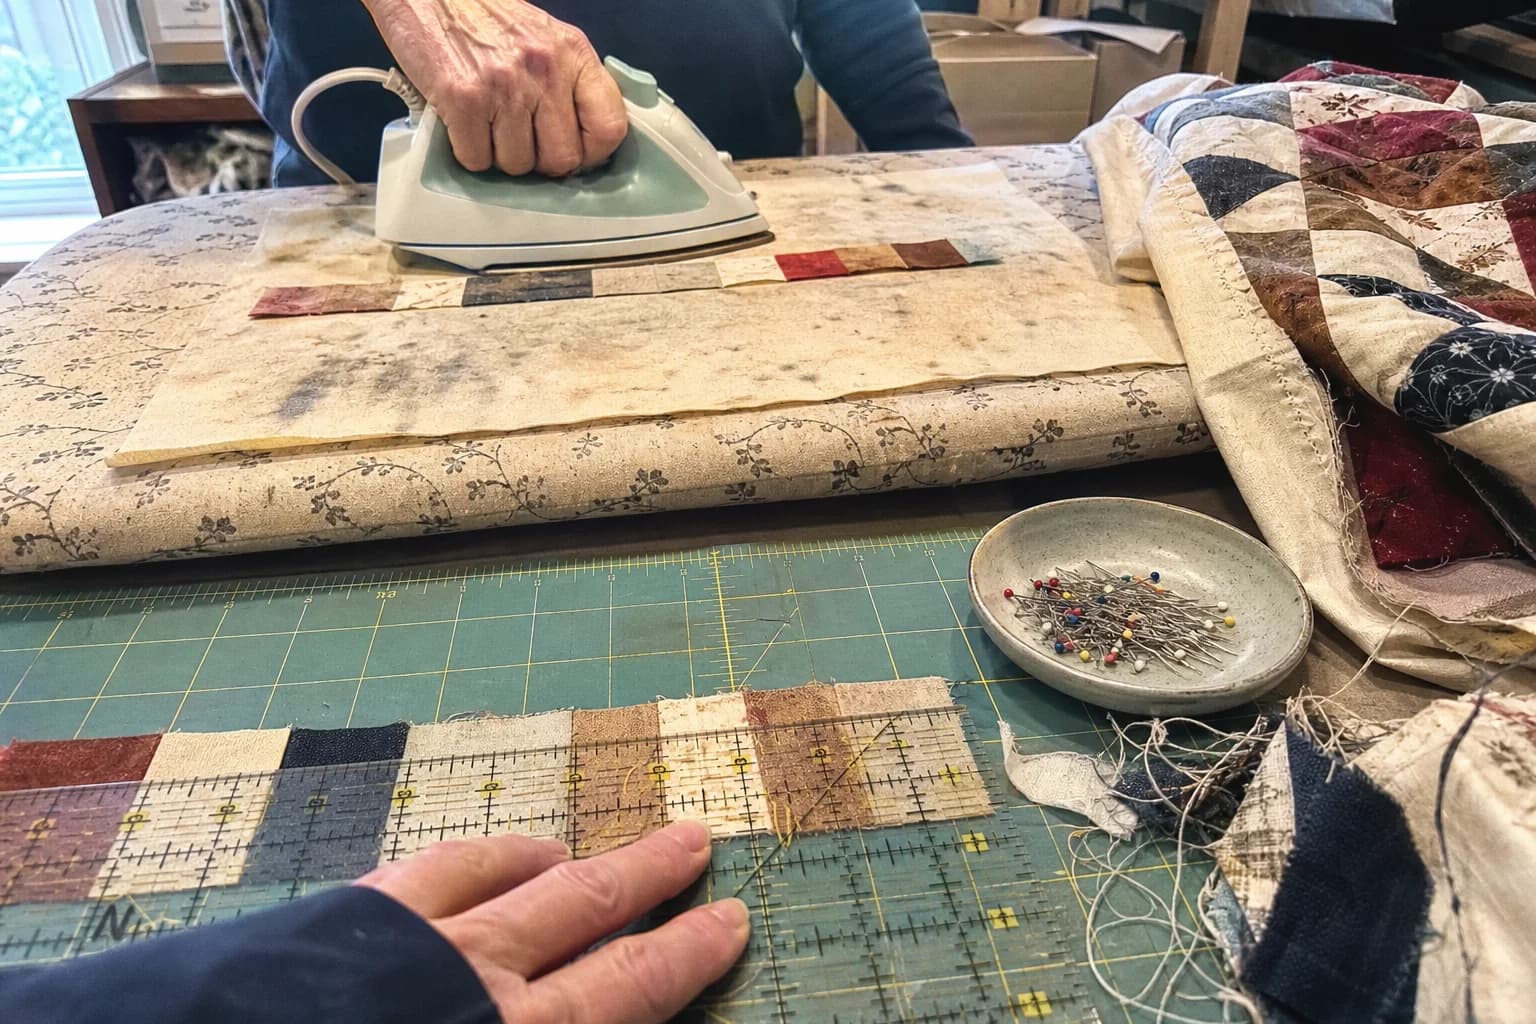
At the cutting table
What to notice first
- Why motion matters
- When pattern instructions lead
- A calm pressing routine
- How to check a block after pressing
The fabric remembers how you handle it
After sewing, a seam needs to be set and flattened so the next unit can join it cleanly. Pressing usually means placing the iron down, applying gentle pressure, lifting it, and moving to the next spot. Ironing often means sliding the iron across the fabric. Sliding is not automatically wrong, but it can pull or stretch a unit, particularly if bias edges are involved.
The distinction is practical rather than precious. You want the block to lie flat without changing the shape you carefully cut and stitched. That is why quilters often pause to press before measuring, trimming, or adding the next row.
Let the pattern and unit decide the seam direction
Some instructions specify pressing seams open. Others ask you to press to one side so seams can nest at the next intersection. A bulky center, a tiny unit, a pattern's assembly order, or your quilting plan can affect that choice. Follow the stated directions when they exist. If they do not, make a sample unit and see which approach lies flatter without creating a hard ridge where the next seam will go.
Do not force every seam in a block the same way merely because it is your habit. The useful standard is whether the unit is flat, the seam allowance is controlled, and the next construction step stays possible.
Worktable routine: press, check, then continue
- Set the seam first by placing the sewn unit flat and pressing briefly along the stitched line if that suits your method.
- Open or direct the seam as the pattern calls for, using a lift-and-set motion rather than dragging the unit across the board.
- Let the unit settle, then check that no seam allowance is folded under or creating an unexpected lump.
- Measure a test unit after pressing when the pattern gives a finished size.
- Only then trim, add the next piece, or chain piece the full batch.
For a pair of half-square triangles, the difference can be easy to see. A unit gently pressed open may stay square enough to match the pattern measurement. A unit tugged across the board can look flat yet grow along a bias edge. Measuring the pressed unit catches that before it becomes a whole row of slightly stubborn blocks.
Use heat with the fabric in front of you
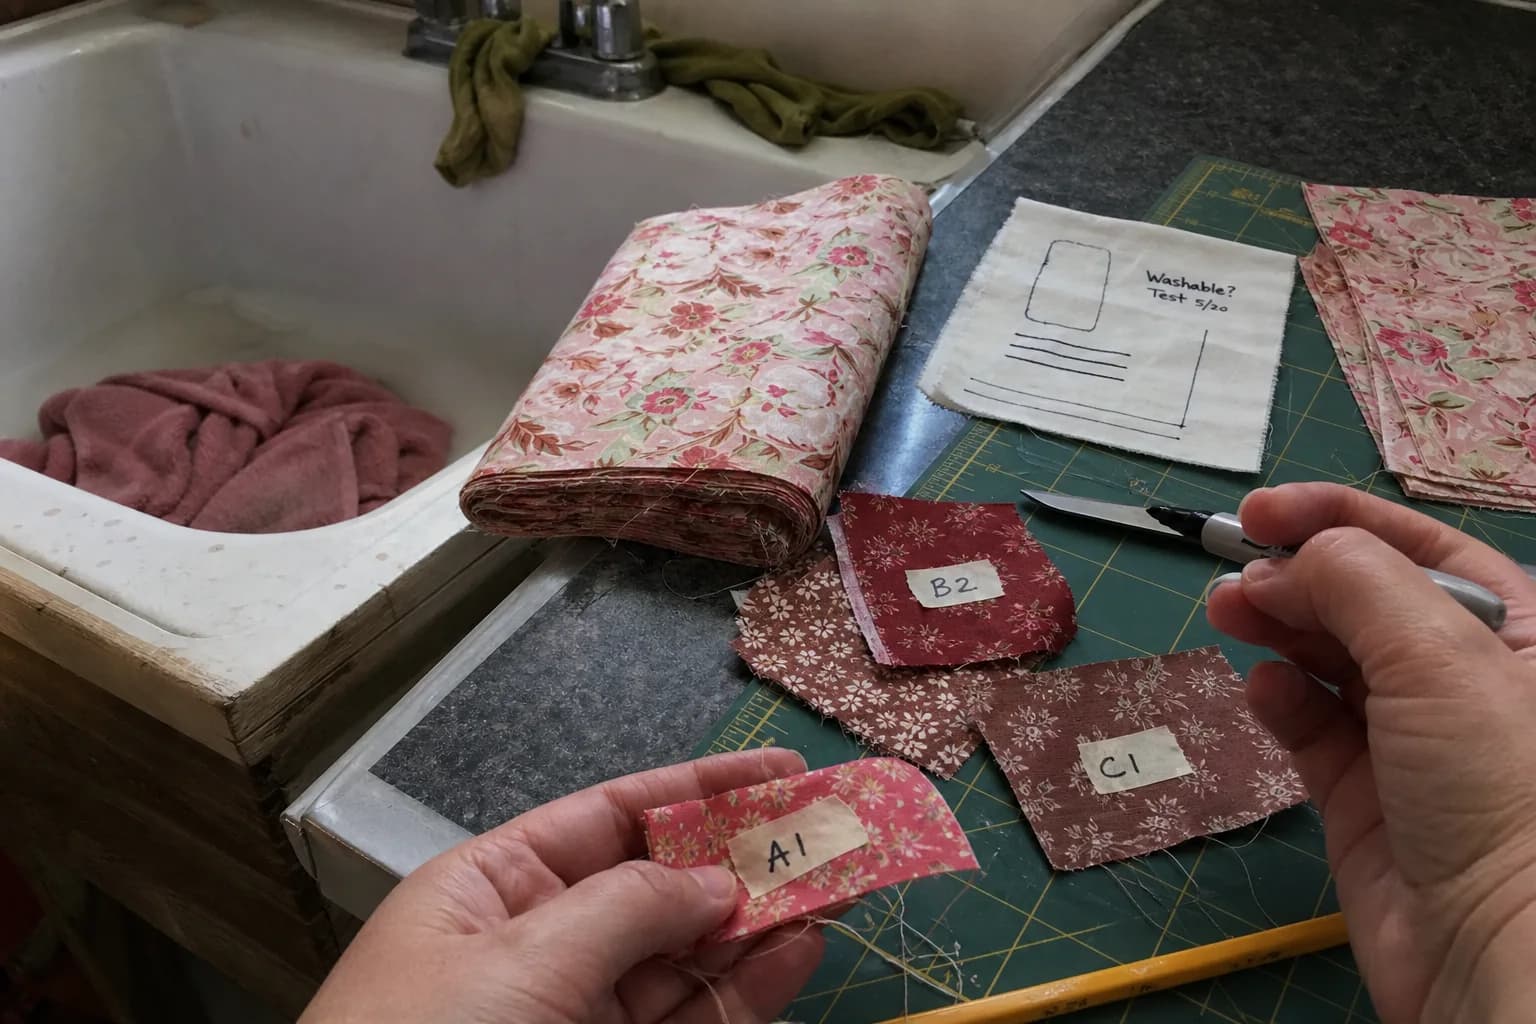
Fabric content, stabilizers, fusibles, and the pattern method can change what heat and moisture are appropriate. Use the fabric maker's guidance and test on scraps if you are unsure. A setting that behaves well on ordinary quilting cotton may not be the right choice for another fiber or an appliqué component.
Keep the iron cord, pressing area, and hot tool placement arranged so you are not reaching across cut pieces. A smooth, uncluttered board makes it easier to lay a unit flat and easier to notice a seam that has flipped the wrong way.
Pressing is a measurement checkpoint
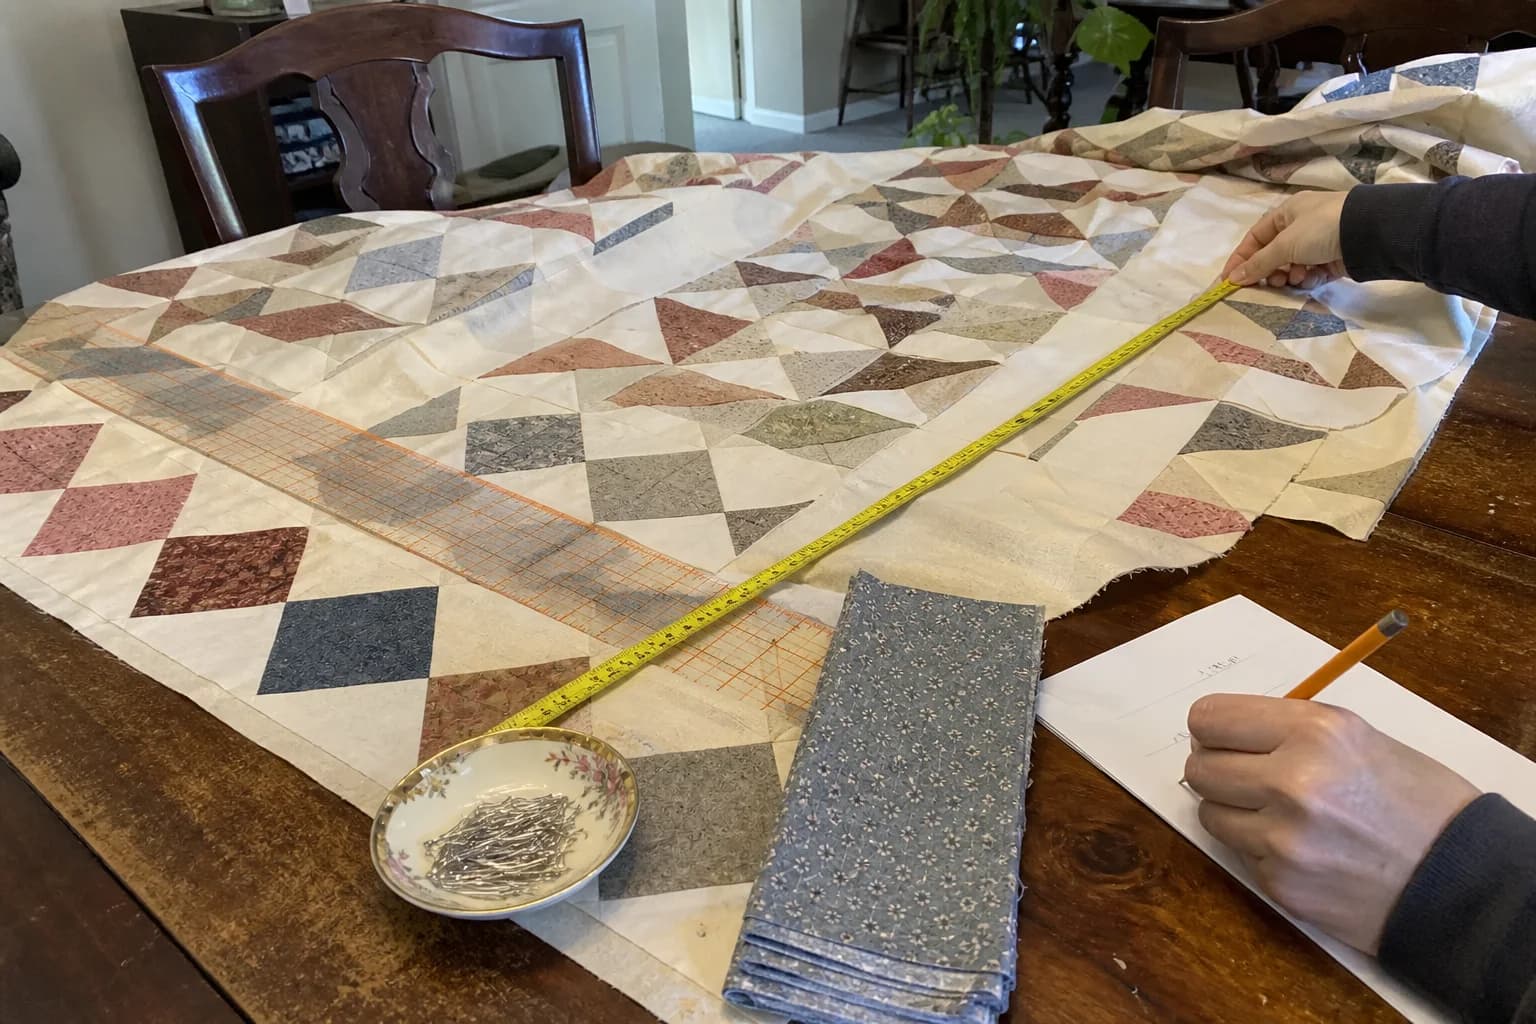
It is tempting to treat pressing as the pause between the exciting parts. In reality, it is one of the best places to catch a problem. If the unit is not the size the pattern expects after pressing, check the seam allowance before trimming away evidence. A too-wide seam, an unintentional stretch, or a cut-size mix-up can all show up here.
Use the quarter-inch seam check with scraps from the same project. If the block is deliberately improv or the pattern gives no intermediate measurement, look for flat seams and the intended shape rather than forcing it to an invented number.
Press with purpose, then leave it alone
Once a block is flat and true to the project's needs, repeated pressing rarely improves it. Return it to its labeled stack and move to the next step. This small routine keeps the work steady: sew, press, check, and continue. It is quieter than wrestling every seam into submission, and it respects the fabric you want to enjoy seeing in the finished quilt.
The questions that come up next
Common questions
Should I press seams open or to one side?
Follow the pattern or method where it specifies seam direction. Both approaches are used, and the best choice can depend on bulk, nesting, quilting plan, and the unit.
Can pressing change block size?
Handling and heat can influence how a unit lies, especially around bias edges. Measure the finished unit after pressing if size matters.
Do I need steam?
Use the fabric and pattern guidance that fit your method. If you are uncertain, test on scraps rather than assuming one setting suits every fabric.
Quilt math, without the second-guessing
One short email when a new guide or calculator lands. No sales sequence.
You're agreeing to quilt-math emails from Stitchtale. Unsubscribe any time; this is separate from signing in.