
Cutting and construction
How to check a quarter-inch seam before a whole quilt
A quarter-inch mark on a presser foot is a starting reference. The more useful evidence is the unit you sew, press, and measure with the fabric and machine you will actually use.
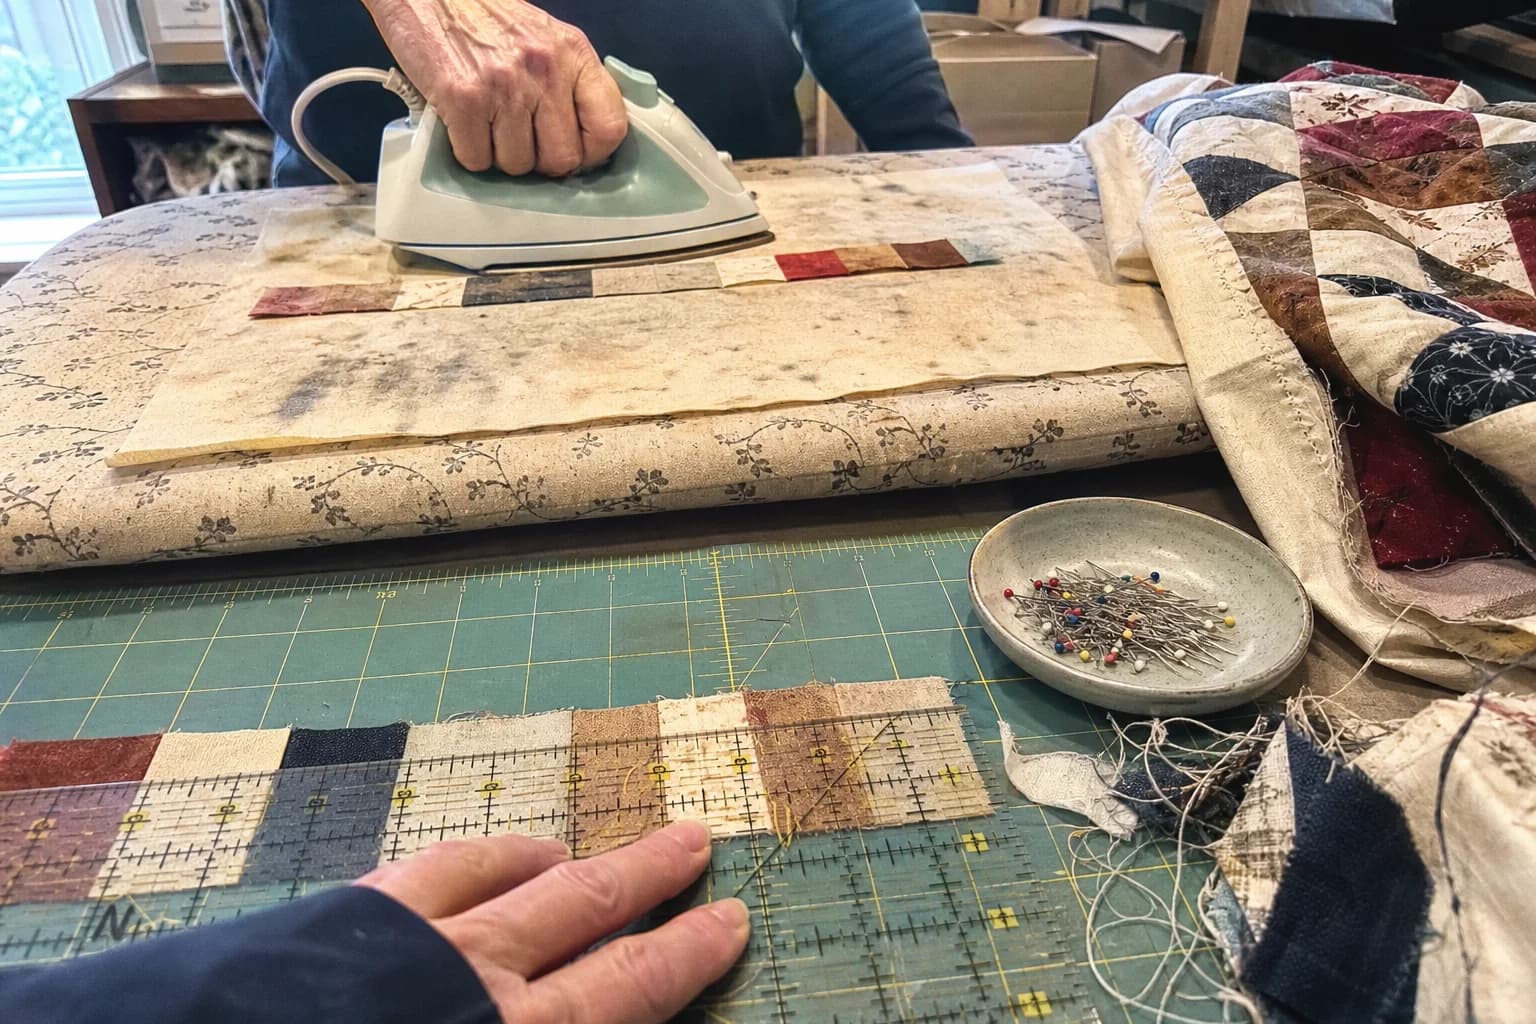
At the cutting table
What to notice first
- Why seam consistency matters
- A simple test unit
- How to interpret the measurement
- When the pattern overrides the habit
A consistent seam is part of the pattern's measurement system
In conventional piecing, seam allowance is not just a neatness preference. It is built into the sizes of cut pieces and finished units. If every seam is a little wider than the pattern expects, blocks can shrink. If every seam is narrower, they can grow. A tiny difference repeated across a row is enough to make matching points feel mysteriously difficult.
The goal is not winning a contest for the most exact-looking presser-foot mark. The goal is a repeatable seam that produces the finished measurement the pattern expects. Your machine, needle position, thread, fabric thickness, and guiding habit all affect where that seam truly lands.
Start with the instructions, not the foot
Read the pattern's stated seam allowance and method first. Foundation paper piecing, appliqué, bag construction, and specialty techniques may use different marks or handling. Do not apply a conventional quarter-inch routine to every raw edge simply because it is familiar.
When a conventional pattern calls for a quarter-inch seam, set up a guide that you can follow without staring at the needle. A foot edge, marked bed, tape guide, or seam guide can help. Then test it. The guide is only useful if the finished unit agrees with the pattern.
Worktable test: sew two squares and measure the result
- Cut two scrap squares at a size you can measure easily, such as 2½ inches, from project-like fabric.
- Sew them together using the seam allowance the pattern calls for.
- Press the seam using the project's intended method.
- Measure the joined unit across the sewn direction, not the presser-foot mark.
- Compare the result with the expected measurement, adjust the guide if needed, and repeat with scraps.
With two 2½-inch squares joined by a quarter-inch seam, the pressed unit should measure 4½ inches across the joined direction and 2½ inches in the other direction. If it does not, do not immediately trim it into agreement. First check whether the seam itself is wider or narrower than intended and whether the squares were cut accurately.
Check the actual unit the pattern uses
Two squares make an easy diagnostic, but a pattern may depend on half-square triangles, strip sets, flying geese, or another unit that introduces bias edges and extra seams. Once the simple seam behaves, sew one real test unit from scraps. Press it, compare it to the pattern's listed unfinished size, and note what changes if it is off.
That test unit is particularly useful before a chain-piecing session. It lets you change one guide or handling habit while only two scraps are at stake. It is much kinder than discovering a quarter-inch issue after every block in a quilt is shy of the sashing measurement.
Do not chase an invented number
If a pattern does not give an intermediate unit measurement, you may not have a safe number to reverse-engineer from a picture. Check the pattern, errata, or designer before assuming a cut or finished size. A clear block layout is useful for planning; it is not automatically a complete cutting packet.
Likewise, “scant” is not a magic setting that fixes every project. Follow the instruction connected to the technique and let the pressed test unit settle the question. See pressing versus ironing for why that measuring step belongs after the seam is flat.
Keep the setup repeatable
Once the test measures as expected, keep the same guide, needle position, and handling for the units that rely on it. If you switch machines, change the foot, alter the fabric stack, or return after a long pause, sew another test. That is not overcautious. It is an easy way to keep the project's measurement system visible while the pieces are still forgiving.
The questions that come up next
Common questions
Is every quilt seam a quarter inch?
No. Many conventional piecing patterns use a quarter-inch allowance, but the pattern and named technique are the authority for a project.
Why do my blocks keep coming out small?
A seam that is wider than planned can make a unit finish smaller. Test a simple unit before cutting or sewing a long batch.
What does scant quarter inch mean?
Some patterns or methods use that phrase for their particular construction. Follow the stated instruction and verify the finished test unit rather than treating one machine position as universal.
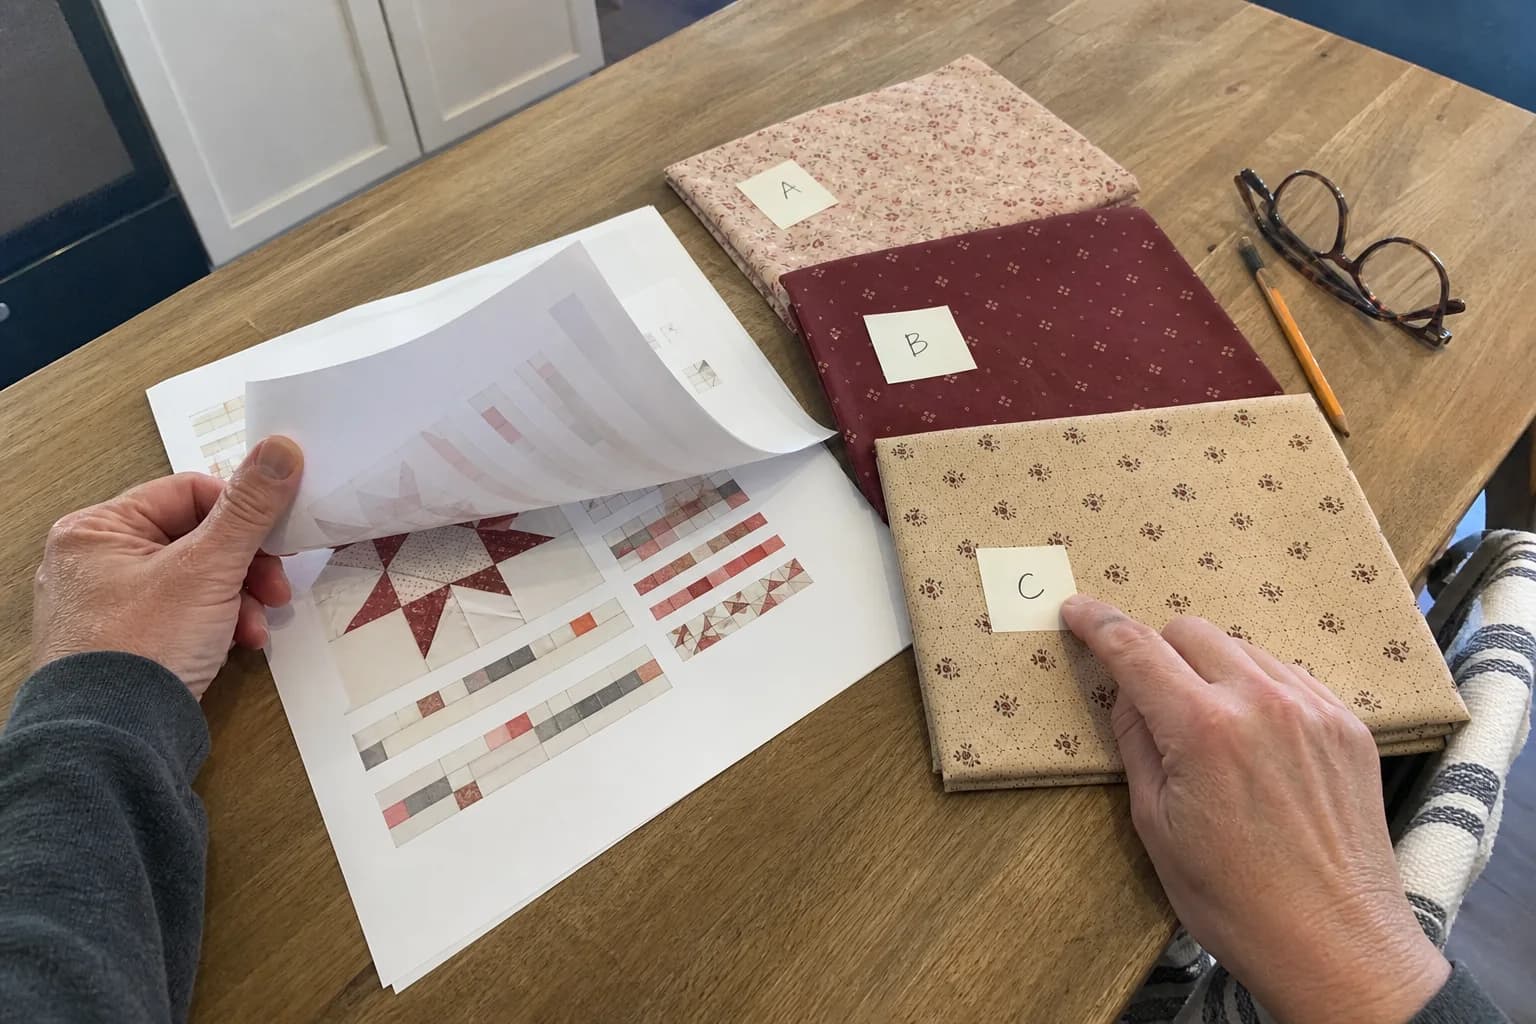
Quilt math, without the second-guessing
One short email when a new guide or calculator lands. No sales sequence.
You're agreeing to quilt-math emails from Stitchtale. Unsubscribe any time; this is separate from signing in.