
Printing templates
How to print a quilt pattern at 100% (and check the scale box)
When a pattern includes full-size templates or foundation papers, a printer setting can quietly change every piece. The scale box is your quick check before you cut the paper or the fabric.
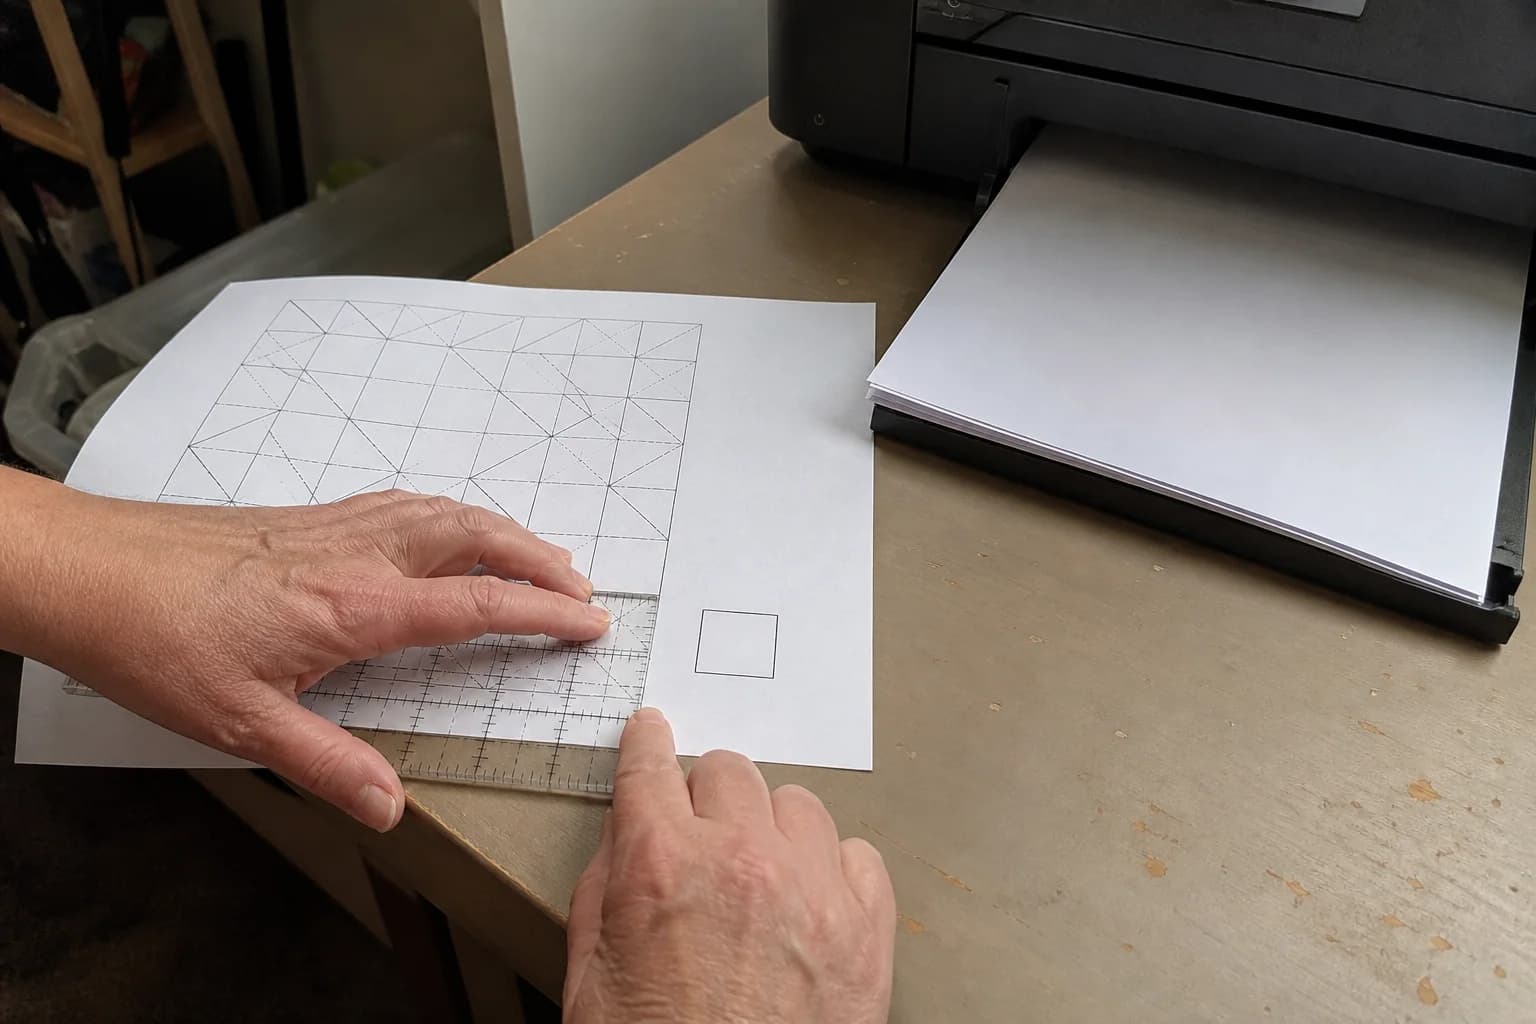
At the cutting table
What to notice first
- Which print setting to choose
- How to measure the scale box
- What to do when it is wrong
- Why the check comes before cutting
Find the scale box before you print
Many template-based patterns include a small square or line marked with a measurement, often one inch or five centimeters. It may be called a scale box, test square, or print-check box. Its job is simple: it tells you whether the page came out at the intended size.
If you cannot find one, read the pattern notes before proceeding. Some rotary-cut patterns do not need printed templates. For a full-size template, though, a clear scale check is a valuable safeguard.
Use “Actual size” or 100%
- Open the print dialog and look for a scale setting.
- Choose Actual size, 100%, or No scaling.
- Turn off settings such as “Fit,” “Shrink oversized pages,” or “Scale to printable area” for full-size template pages.
- Print one page first if you can.
Printer menus are not all named the same way. The label is less important than the measurement you make next.
Measure the box with a ruler
Lay a ruler directly over the printed scale box. If it says one inch, it should measure one inch from outside edge to outside edge. If it says five centimeters, it should measure five centimeters. Check both directions on a square when possible.
If the measurement is off, do not trim templates or cut fabric yet. Return to the print dialog, adjust the scale setting, and print the page again. A small error can travel through every template in the quilt.
After the scale is right
Only then should you trim and tape multi-page templates, following the page markers supplied with the pattern. If the pattern asks for a test block, this is also the right time to make it. A scale-box check confirms the print size; it does not replace reading the instructions or checking your seam allowance.
For the rest of that pre-cut pause, use our five things to check before cutting.
The questions that come up next
Common questions
What does “print at 100%” mean?
It means the printer should reproduce the page at its original size. Printer dialogs may call this “Actual size,” “100%,” or “No scaling.” The words vary, so the scale box is the final check.
What if my printer only offers “Fit to page”?
Do not use it for a full-size template unless the pattern specifically says it is safe. Look for a custom scale field, “Actual size,” or “None.” If you cannot print at the stated scale, use another printer before cutting fabric.
Can I use the scale box if my pattern is on several pages?
Yes. Check the scale box on the page where it appears before assembling the pattern. If a pattern asks you to tape pages together, first confirm the printed scale, then use the page-matching marks or registration marks supplied by the pattern.
Keep the project moving
Read next
Quilt math, without the second-guessing
One short email when a new guide or calculator lands. No sales sequence.
You're agreeing to quilt-math emails from Stitchtale. Unsubscribe any time; this is separate from signing in.