
Before cutting
How to check a quilt pattern before cutting fabric
A ten-minute pause before cutting is cheaper than discovering a missing detail after your favorite fabric is in pieces. This check is about clarity, not perfection.
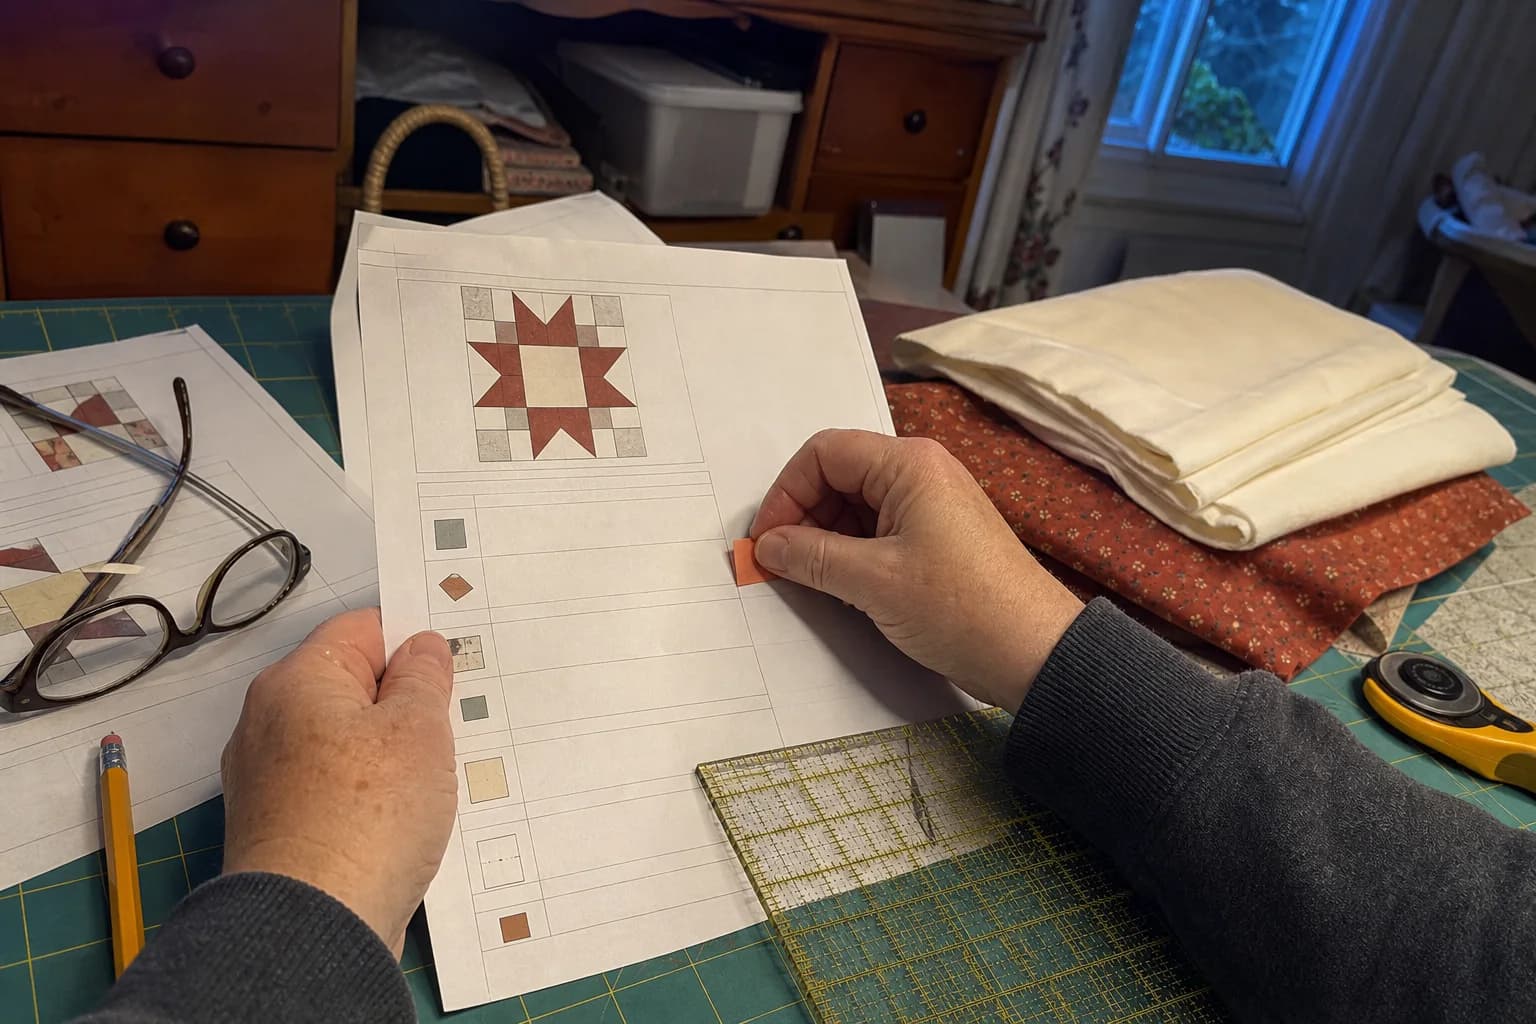
At the cutting table
What to notice first
- The five facts to confirm
- How to check sizes and fabric labels
- When a scale box is required
- When a test block saves a project
Check the size you are actually making
Find the finished quilt size and, when relevant, the finished block or unit size. Mark the specific size option you chose wherever it appears in the materials list, cutting chart, and assembly directions. Patterns commonly place several sizes in one chart. A single skipped bracket can put a lap-quilt cutting count into a bed-quilt layout.
Then notice whether a measurement is finished or unfinished. Finished dimensions describe the size after seams are sewn. Unfinished dimensions normally include the seam allowance needed to join the next piece. Do not compare a cut square directly to a finished block without reading the label around the number.
Confirm the method before you buy into it
Read the technique notes before cutting. Conventional piecing, templates, foundation paper piecing, and appliqué need different preparation and different kinds of information. A template pattern should explain whether the line includes seam allowance. An FPP pattern should show numbered foundation sections, trim guidance, a test square, and a joining map. An appliqué pattern should explain its shape placement and edge-finishing method.
Do not conclude that a design is FPP-ready because it has angular shapes, or that a clean layout view is a cutting pattern. The method should be stated and supported by the instructions for that technique. If it is unclear, keep the project in planning mode while you find the original answer.
Translate the fabric key into your fabric pull
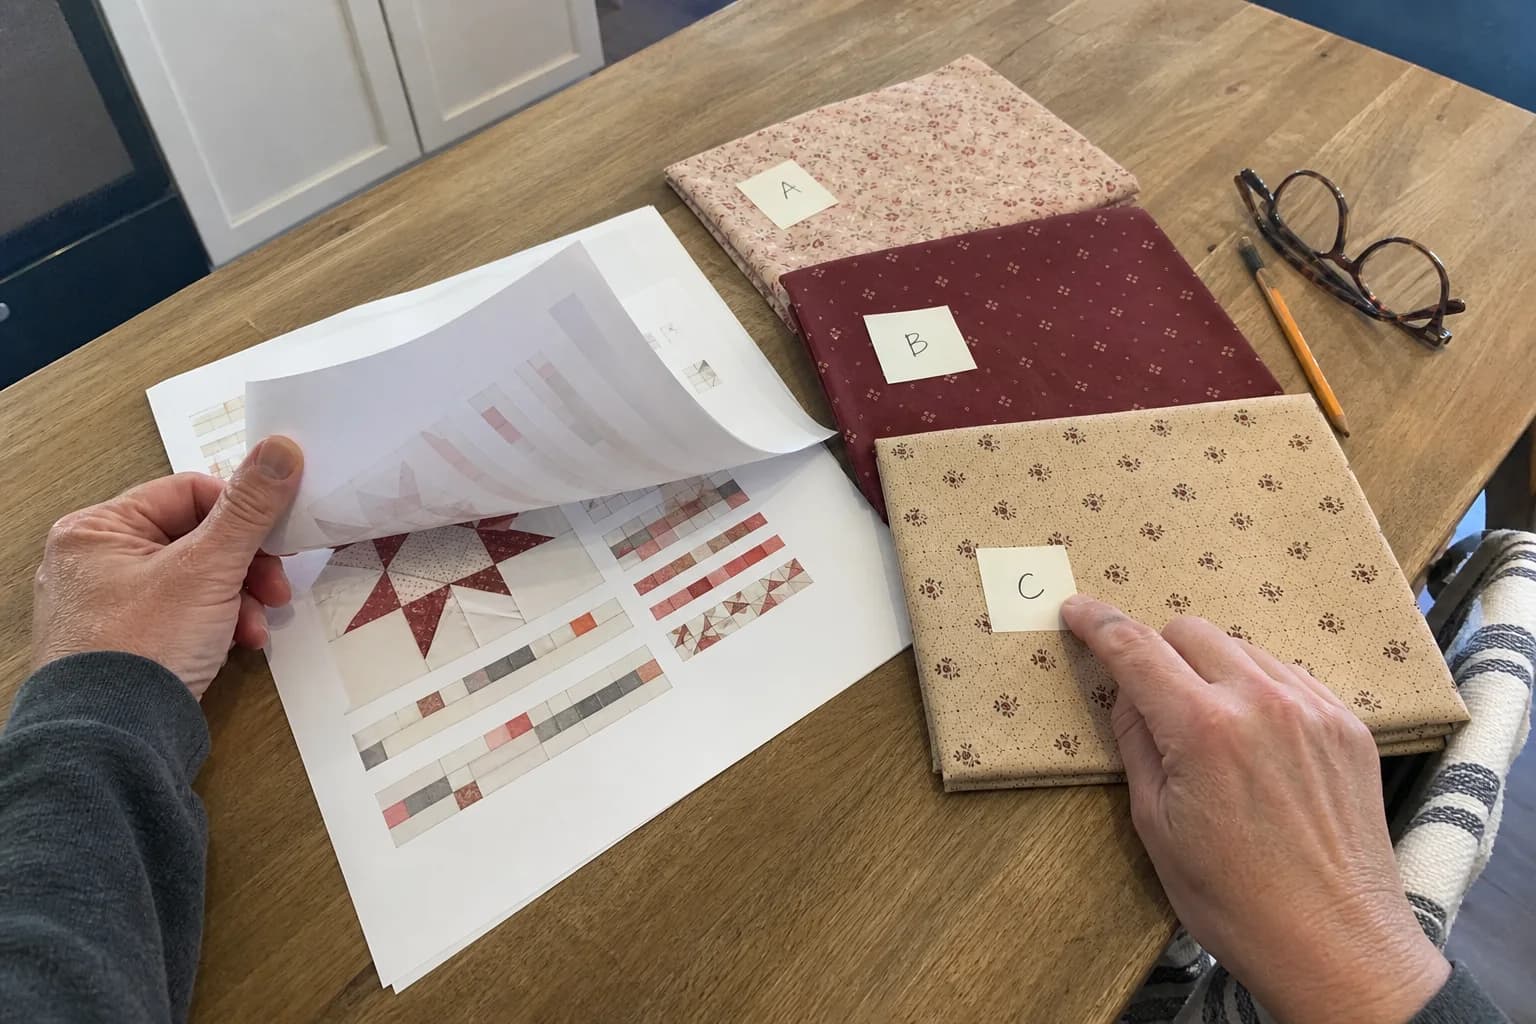
Write a plain-language name beside every pattern fabric letter or number: “A = cream dot,” “B = rust solid,” and so on. Check whether a fabric appears in more than one unit, and whether the pattern distinguishes background, binding, backing, and accent fabrics. Lay the fabrics next to the color diagram and test value, not only color. Two prints can both be blue while reading too similarly to show the block.
If you are substituting, count the required cuts against the usable fabric you own. Directional prints, fussy cutting, and a changed layout can require more than the original yardage. This is the time to discover that a favorite print needs a different role, not after its last usable strip has been cut.
The pre-cut checklist
- My selected quilt size and finished measurements are marked.
- I know the stated construction method and seam allowance.
- Every fabric letter has a plain-language name in my own pull.
- I can find cut sizes, quantities, and the first unit's diagram.
- I have checked whether templates or foundations need 100% printing.
- I know the first trimming point and the stated unfinished measurement.
- I know what I will do if a number, line, or tool is unclear.
Do the print-scale check when the pattern needs it
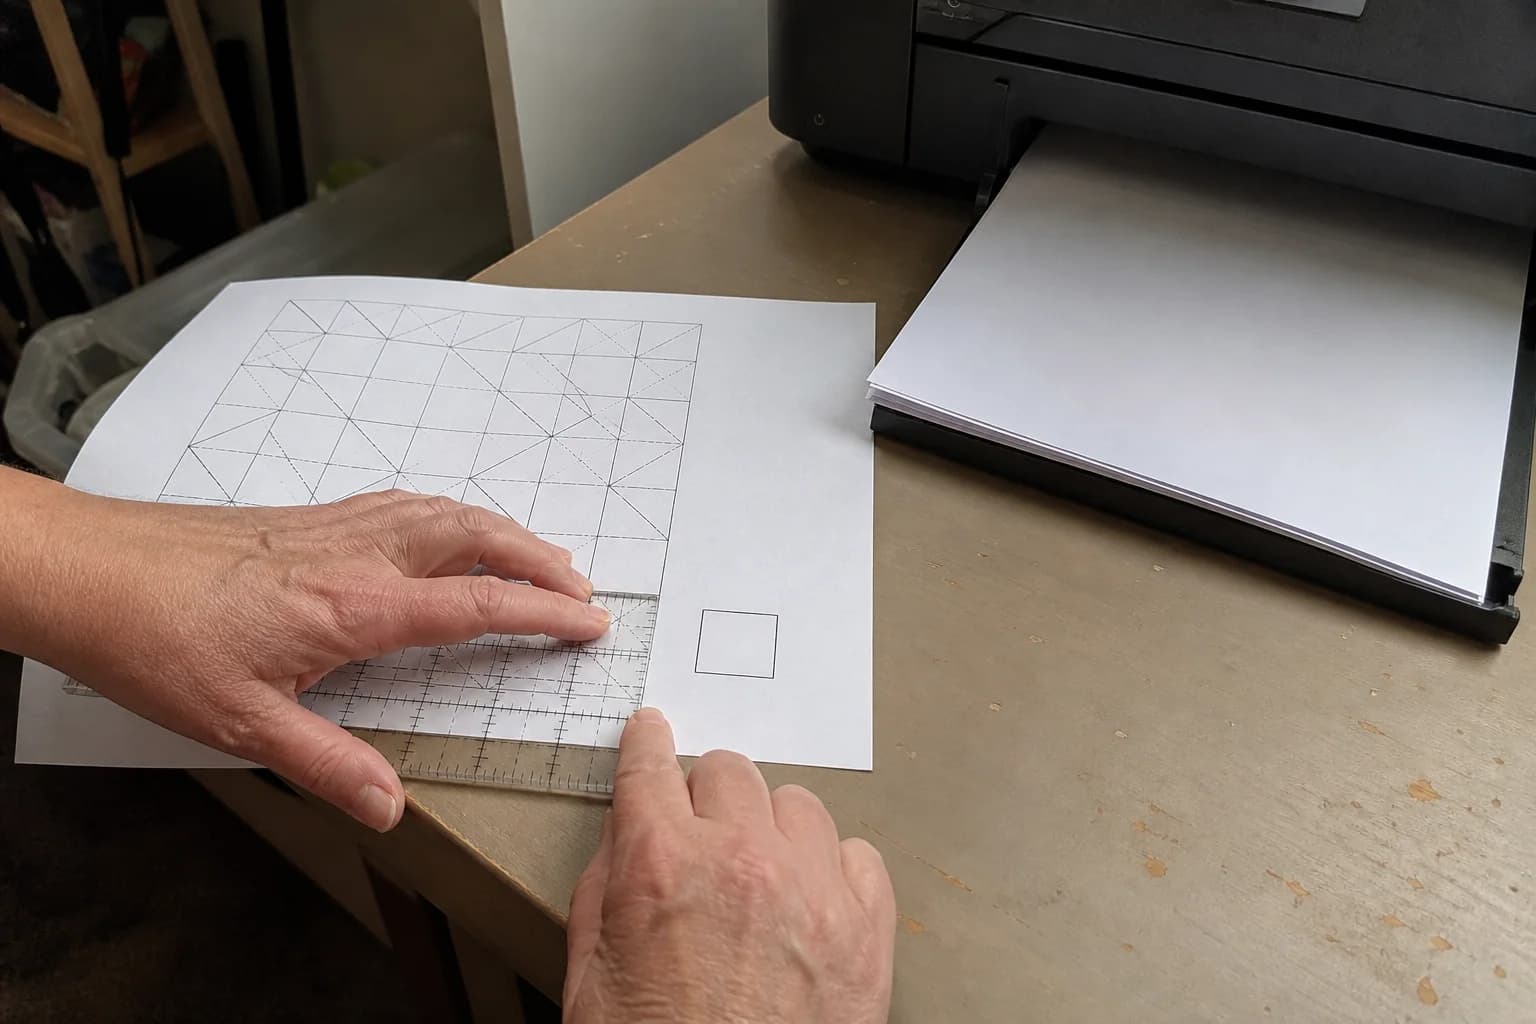
For full-size templates and foundations, select Actual size or 100% in the printer dialog, print a page with the test square, and measure it on paper with a ruler. Do this before taping multi-page templates, cutting paper, or choosing fabric pieces. “Fit to page” is useful for documents, but it can quietly resize working pattern pages.
Scale is one check among several. A correct square does not confirm that the fabric key is clear or that you have selected the right construction method. It only confirms that the printed page came out at the intended size. See the full print-scale routine when templates are involved.
Make a first unit with a purpose
For a new designer, unfamiliar technique, or meaningful fabric investment, make one block or small section first. Follow the instructions exactly, measure the stated unfinished size, compare the orientation with the diagram, and check whether your fabric contrast reads as intended. In FPP, make one complete foundation section through the outer trim. In appliqué, test a representative curve and edge finish.
A test block is not proof that the whole quilt is mistake-proof. It gives you a sensible place to catch a misunderstood seam allowance, print-scale issue, or value problem. If it is off, stop and find the cause before multiplying it across a quilt top.
Use a stop sign without guilt
Pause if the finished size is absent, the technique is unnamed, the fabric placement is impossible to follow, a template has no scale check, or the assembly order leaves you guessing. Look for a current errata page, reread the notes, or ask the designer. A pattern can be lovely and still need one more answer before it is ready for your rotary cutter.
For a gentler walk-through of the document, read how to read a quilt pattern. If all you have is a reference image or planning screen, start with what an image cannot prove.
The questions that come up next
Common questions
Should I cut all the fabric at once?
For a familiar, clearly written pattern you may choose to. For a new technique, uncertain directions, or precious fabric, cutting enough for one test block or section first gives you a useful pause point.
What if the required tool is not listed clearly?
Look through the technique notes and first assembly steps, then check the designer's errata or support information. Do not substitute a specialty ruler or template by guesswork if its markings control the finished unit.
Does a test block guarantee the quilt will go together?
No. It is a practical check of scale, seam allowance, fabric contrast, and instruction clarity in one small area. Continue to check stated measurements as you make later units.
Quilt math, without the second-guessing
One short email when a new guide or calculator lands. No sales sequence.
You're agreeing to quilt-math emails from Stitchtale. Unsubscribe any time; this is separate from signing in.