
Quilt math
How to calculate quilt borders
Borders look simple until the strip lengths are cut in the wrong order. A clear border plan names the finished center, border width, and the order in which the strips will be added.
Calculate your borders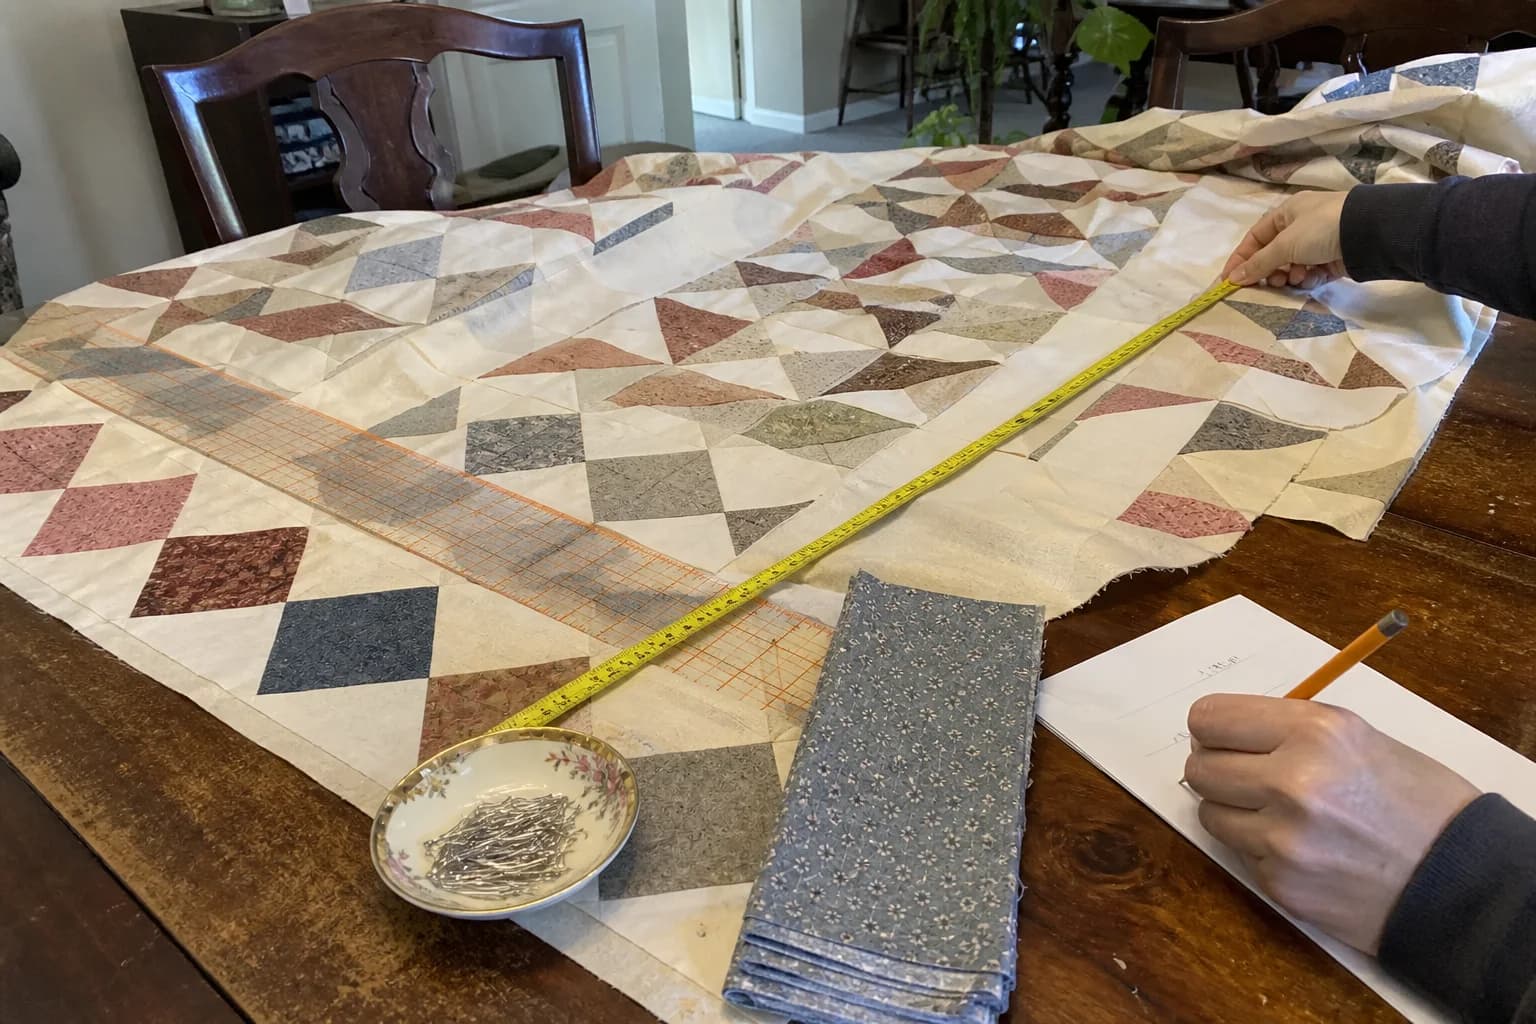
At the cutting table
What to notice first
- Why border order affects strip lengths
- How to calculate finished size
- A visible two-border example
- What to check before cutting
Name the center and the order before cutting
For a simple straight border plan, write the finished center width and height, the finished border width, and the order the borders will be attached. A common order is side borders first, then top and bottom borders. That order is not an arbitrary detail: the second pair is longer because it crosses the added side borders.
Use the dimensions your project calls for. A pattern may give cut widths that include seam allowances while a finished-size sketch shows a different number. Keep those two labels distinct. The calculator is an estimate for your stated border plan, not proof that one construction sequence fits every pattern.
The finished-size arithmetic
Add twice the finished border width to both dimensions for each border round. If a 48 by 60 inch center receives a 3-inch finished border, the finished quilt becomes 54 by 66 inches. That is 48 plus 6 by 60 plus 6. The side strips are based on the 60-inch center height; the top and bottom strips are based on the new 54-inch width.
Worked example: a 48 by 60 inch center
- Center: 48 by 60 inches.
- Planned finished border: 3 inches.
- Side borders first: two strips with a 60-inch finished span.
- Top and bottom second: two strips with a 54-inch finished span. Actual strip cut lengths must follow the pattern's stated border method and cut size.
- Finished quilt: 54 by 66 inches.
That example explains why four identical strips are not the usual answer for this order. Use the border calculator for fabric width, strip width, and yardage assumptions that match your plan.
Watch for print direction and joins
A border fabric with a clear direction needs a layout check before strips are cut. Long borders may also need joined strips when the fabric width does not cover the required length. Decide where a join will land and whether the print will stay oriented as planned. This is a visual and construction choice, not something a yardage total can settle alone.
Before the rotary cutter
- Confirm whether your numbers are cut size or finished size.
- Write the border order beside the center measurements.
- Calculate side strips before top and bottom strips.
- Check directional prints and likely joins.
- Re-measure the completed quilt before calculating binding.
A border changes the finished perimeter. Continue with binding math after the borders are attached and the quilt is measured.
Keep each border round on its own line
Before cutting, list the center measurement, border width, strip order, and planned finished size for every round. That little record helps you catch a strip that belongs to the previous round rather than the new outside edge.
The questions that come up next
Common questions
Do side borders and top borders have the same length?
Usually not. When side borders go on first, top and bottom borders span the center plus both side borders.
Can I use the same formula for every border style?
This is a planning method for a stated, straight border order. Follow a pattern when it specifies a different construction method.
Should I cut borders to a measured center?
Patterns vary. Measure and follow the method for your project rather than assuming all borders are attached the same way.
Quilt math, without the second-guessing
One short email when a new guide or calculator lands. No sales sequence.
You're agreeing to quilt-math emails from Stitchtale. Unsubscribe any time; this is separate from signing in.