
Quilt math
Quilt backing seam direction: how to choose before you cut
A backing seam is not a failure of the plan. It is a construction choice. The useful decision is the one you can explain on paper before fabric is cut: which way panels run, where the seam lands, and whether the print still faces the direction you intended.
Compare backing plans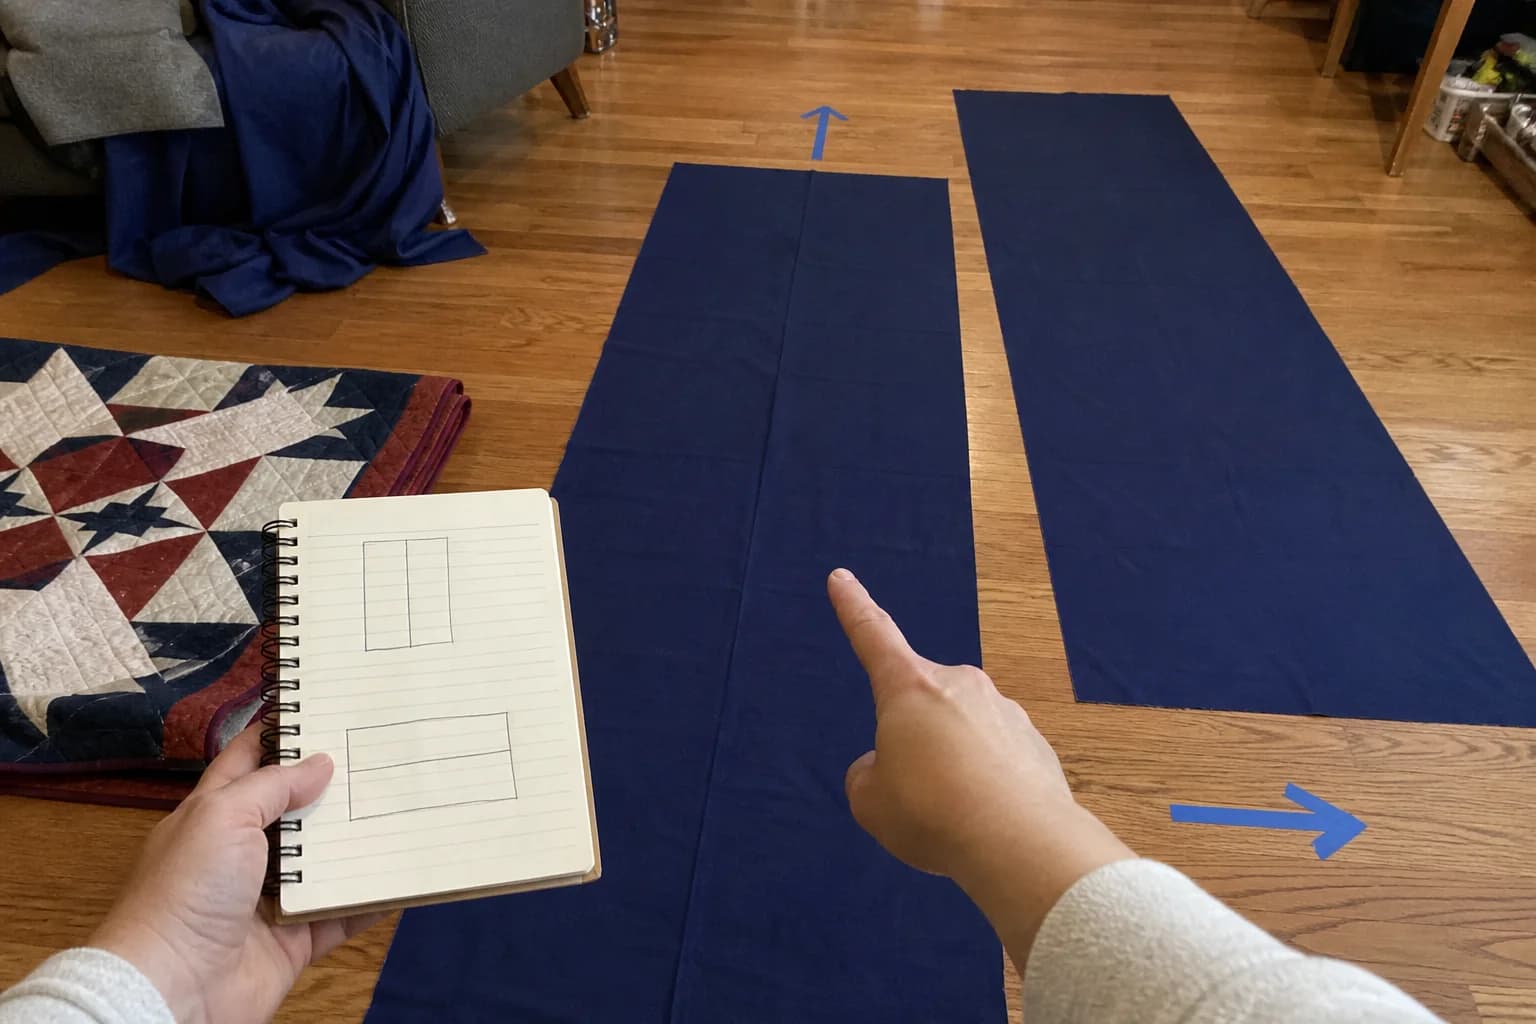
At the cutting table
What to notice first
- What seam direction describes
- How to compare two panel plans
- Why directional prints deserve a pause
- A cut-table checklist
Seam direction is a description, not a grade
When backing fabric is narrower than the backing rectangle, the backing is made from panels. Those panels can stand beside each other or stack one above another. Quilters often call the first arrangement a vertical seam and the second a horizontal seam. The names tell you how the seam travels across the finished back. They do not tell you whether the choice is right for every quilt.
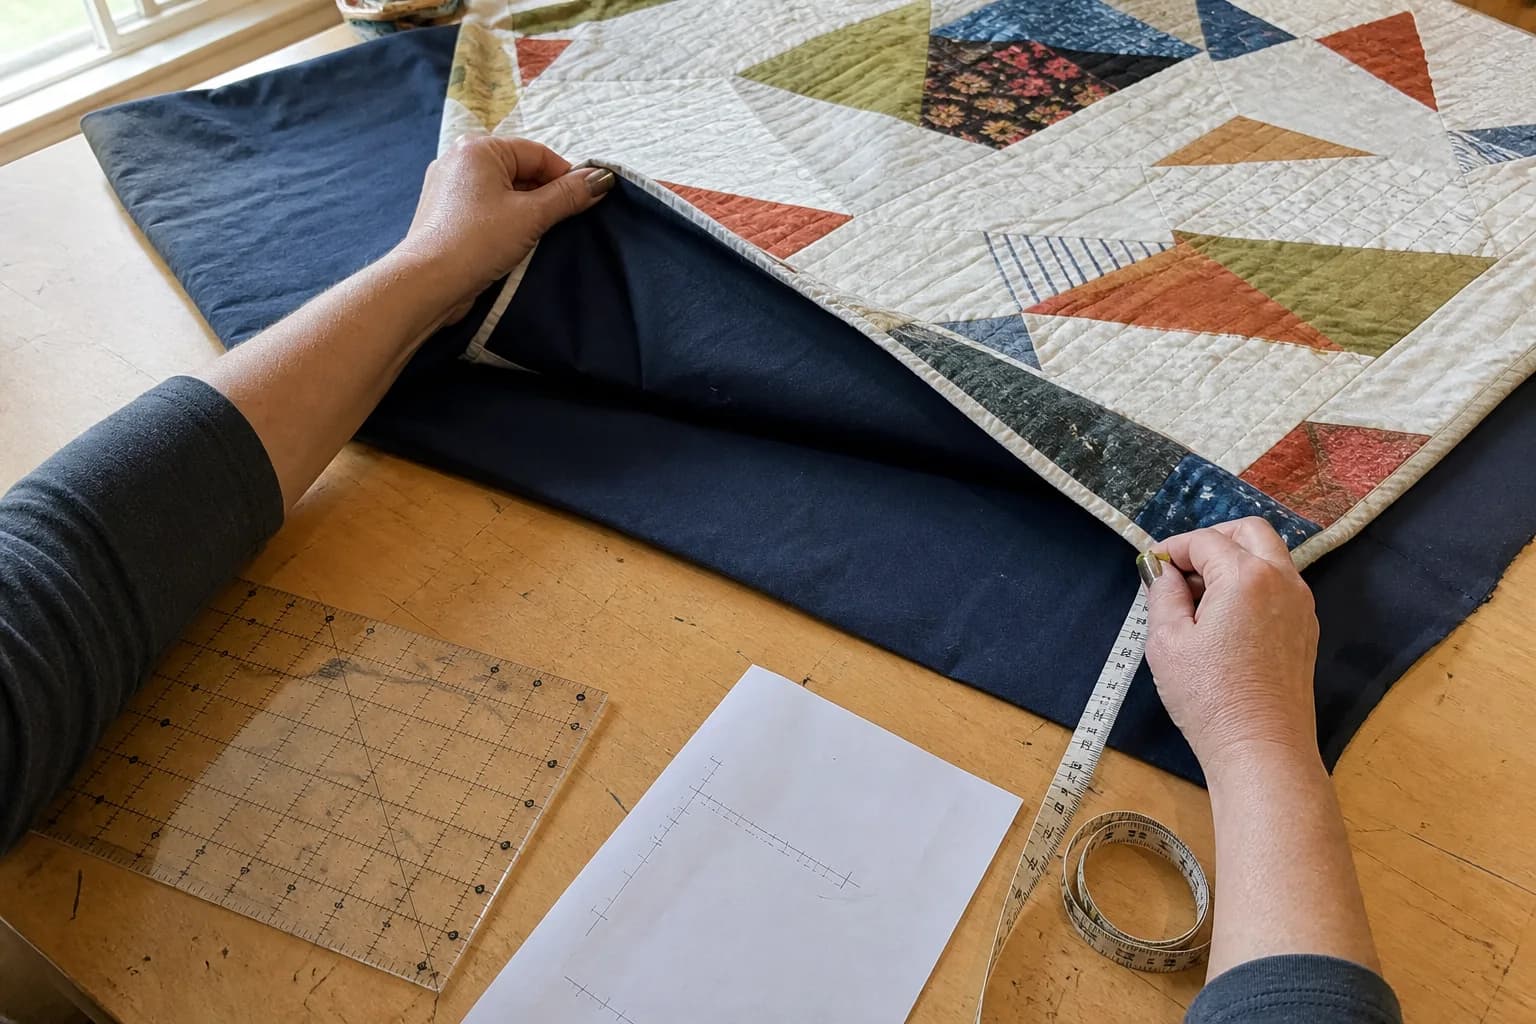
Start with the rectangle you actually need, including the extra room around the finished top. Then use the usable width of the fabric, not the number on a bolt label you have not checked. Selvages, damaged edges, and a planned trim allowance can reduce what is genuinely available.
Put both plans on paper
For a vertical plan, divide the backing width by usable fabric width and round up to whole panels. Each panel must be as long as the backing height. For a horizontal plan, divide the backing height by usable width and round up. Each panel must be as long as the backing width. Compare panel count first, then total length of fabric.
This comparison is planning arithmetic, not a cutting instruction. It does not decide where you want a seam, how you will press it, or whether a particular print should run across or down the quilt. Those are the reasons to look beyond the lowest yardage figure.
Worked example: 68 by 88 inch backing
Imagine a backing rectangle measuring 68 by 88 inches and fabric with 42 usable inches. A vertical plan needs two panels because 42 plus 42 covers 68. Each panel is 88 inches long, for 176 inches total and one seam. A horizontal plan needs three panels because two widths cover only 84 inches of the 88-inch height. Each panel is 68 inches long, for 204 inches total and two seams.
- Vertical: two 88-inch panel lengths, one seam, 176 inches before yardage rounding.
- Horizontal: three 68-inch panel lengths, two seams, 204 inches before yardage rounding.
- In this example, vertical uses fewer panels and less length. Change the fabric width or backing size, and that may change.
The backing calculator makes this comparison visible and rounds the resulting yardage up. It is especially useful when the two plans are close enough that a small change in usable width flips the result.
Directional prints change the conversation
A floral, stripe, animal, text, or scenic print may have an obvious top. Decide how you want that top to read on the finished quilt before you settle on the seam direction. Lay a small piece on the quilt top and physically turn it. A plan that looks economical on a sketch can leave a motif sideways if that is not the look you wanted.
Mark the intended top on every panel with a removable note before you sew. Then dry lay the panels in their final order. This takes a minute and catches the sort of rotation mistake that is much harder to admire after a long seam is sewn.
Keep the quilting plan in view
If someone else will quilt the project, ask for their backing requirements before buying or piecing. Requirements can differ by provider and by quilt setup. If you are quilting at home, think about what will be manageable on your machine and where a seam might sit relative to a dense design. Neither question produces one answer for all quilts, but both are worth deciding while change is still cheap.
Cut-table checklist
- Write the finished top size and your chosen overhang.
- Measure the usable fabric width.
- Sketch vertical and horizontal panels with their cut lengths.
- Check the print direction and mark the panel tops.
- Confirm any longarmer requirement before trimming or sewing.
Once that plan is clear, move on to binding yardage so the finishing materials are planned from the same finished size.
Make the seam choice visible
Write “two vertical panels” or “three horizontal panels” on the backing note before you cut, then draw an arrow for the print direction. It is a small bit of quilter housekeeping that makes the piecing plan easier to check when the panels are on the floor.
The questions that come up next
Common questions
Is one backing seam direction always better?
No. The panel count and fabric use matter, but so can a directional print, the seam position you prefer, and a longarmer's stated requirements.
What does a vertical backing seam mean?
It means panels run the full backing height and are joined side by side, so the seam runs from the top edge toward the bottom edge.
Should I center a backing seam?
Many quilters choose a centered seam for balance, but it is a design and handling choice, not a universal requirement. Check your quilting provider's preferences if one is involved.
Quilt math, without the second-guessing
One short email when a new guide or calculator lands. No sales sequence.
You're agreeing to quilt-math emails from Stitchtale. Unsubscribe any time; this is separate from signing in.