
Finishing a quilt
How to audition quilt binding fabric before you commit
Binding is a narrow strip with a loud job. It finishes the raw edge, frames the whole top, and can quietly disappear or become the last strong line in the quilt. A real strip tells you more than a folded bolt.
Check the binding yardage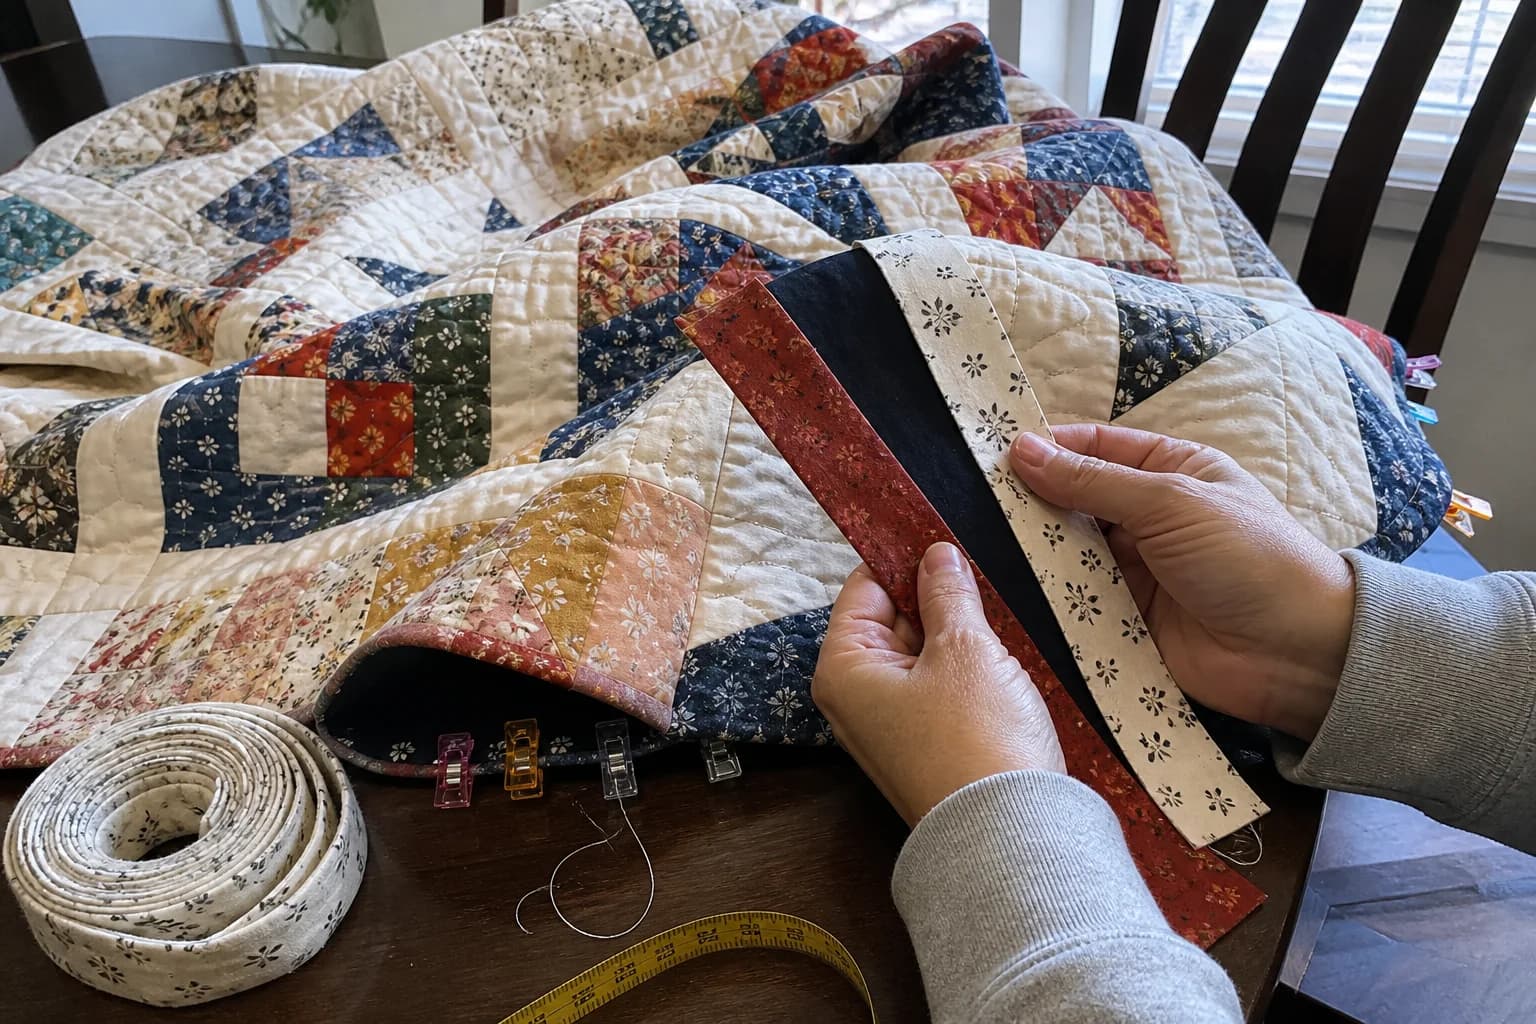
At the cutting table
What to notice first
- What binding changes visually
- How to test a fabric at the edge
- Stripes, direction, and value
- When to calculate yardage
Binding is the last fabric choice with a big visual effect
It is easy to treat binding as an afterthought because it is narrow. On a finished quilt, though, it runs around every edge. A binding can frame the top crisply, blend into the border, echo a feature fabric, or give a calm quilt one strong finishing line. There is no default that works for every quilt.
Choose with the whole quilt in view. A fabric that looks perfect beside one block may feel too heavy once it outlines the full perimeter. A print that seems busy in a folded strip may become a subtle little flicker at the edge. The most useful audition is not a bolt held near the center. It is a strip held right where the binding will live.
Start with the job you want the edge to do
Ask one plain question: should the edge step forward or step back? A binding close in value to the border can make the edge feel continuous. A darker or lighter binding can make a deliberate frame. Repeating a feature fabric can tie the outside back to the block, while a separate print can add contrast and a bit of surprise.
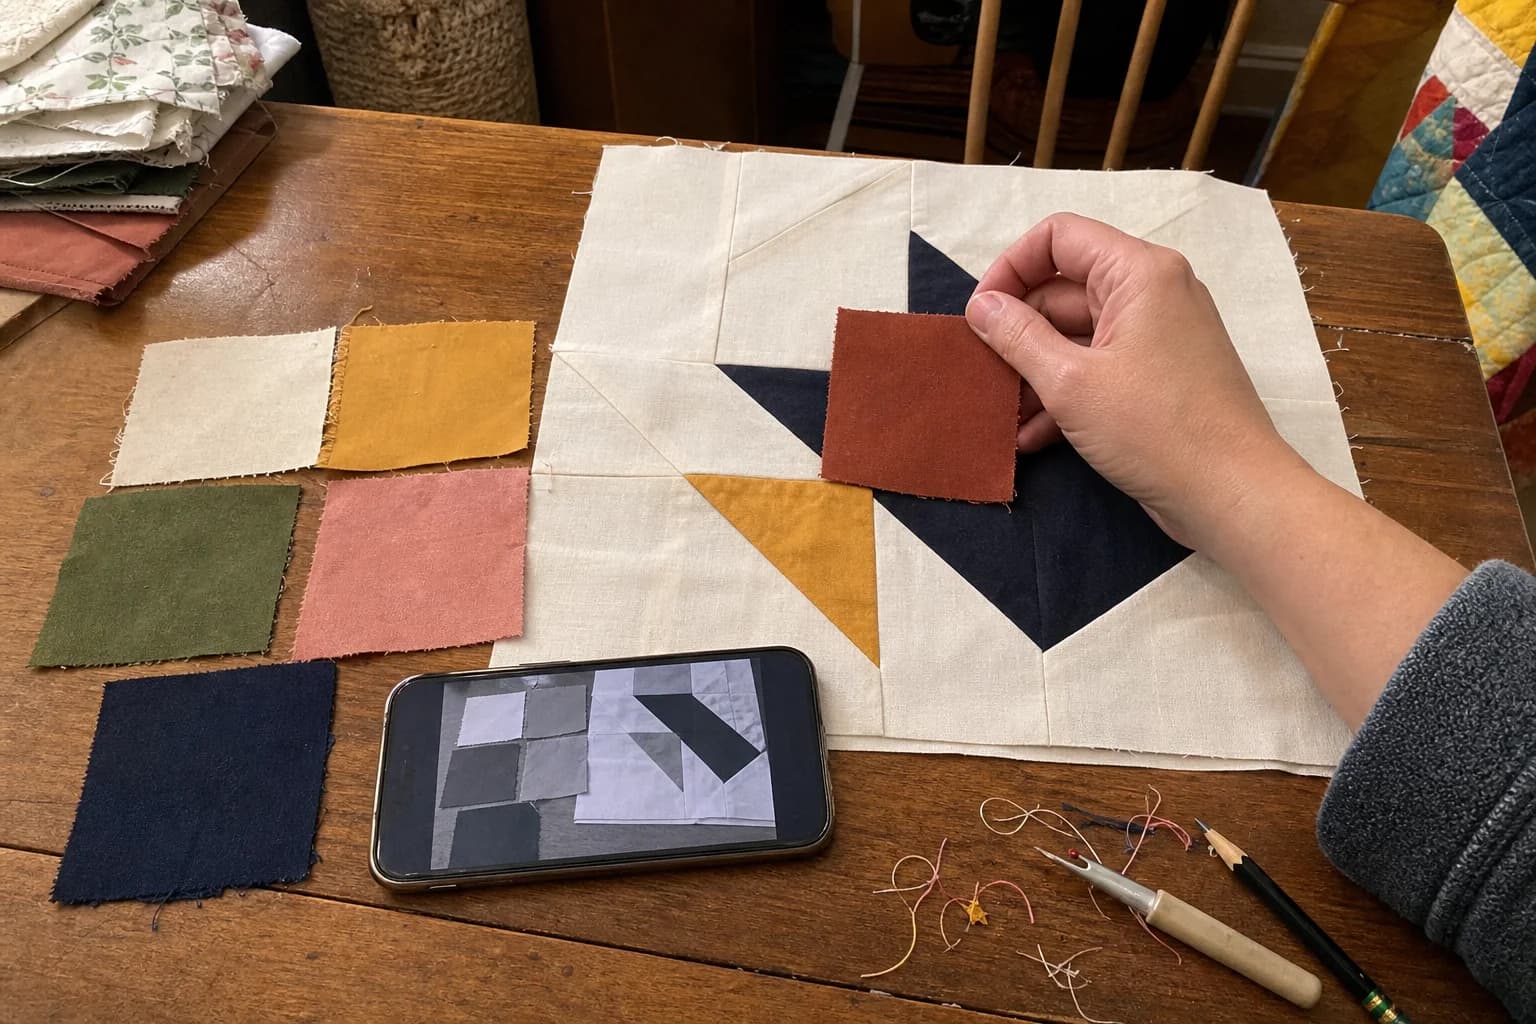
Value is helpful here because color names alone can hide the effect. A deep green binding might feel calm next to a navy border in color, yet read as the same dark value from across the room. That may be exactly the quiet frame you want. A black-and-white check can reveal whether the edge becomes a strong line or recedes.
Worktable test: wrap a real strip around a corner
- Cut or fold a strip of each binding candidate at roughly the width you intend to use.
- Lay it along the outer edge of the finished top or a block-and-border sample.
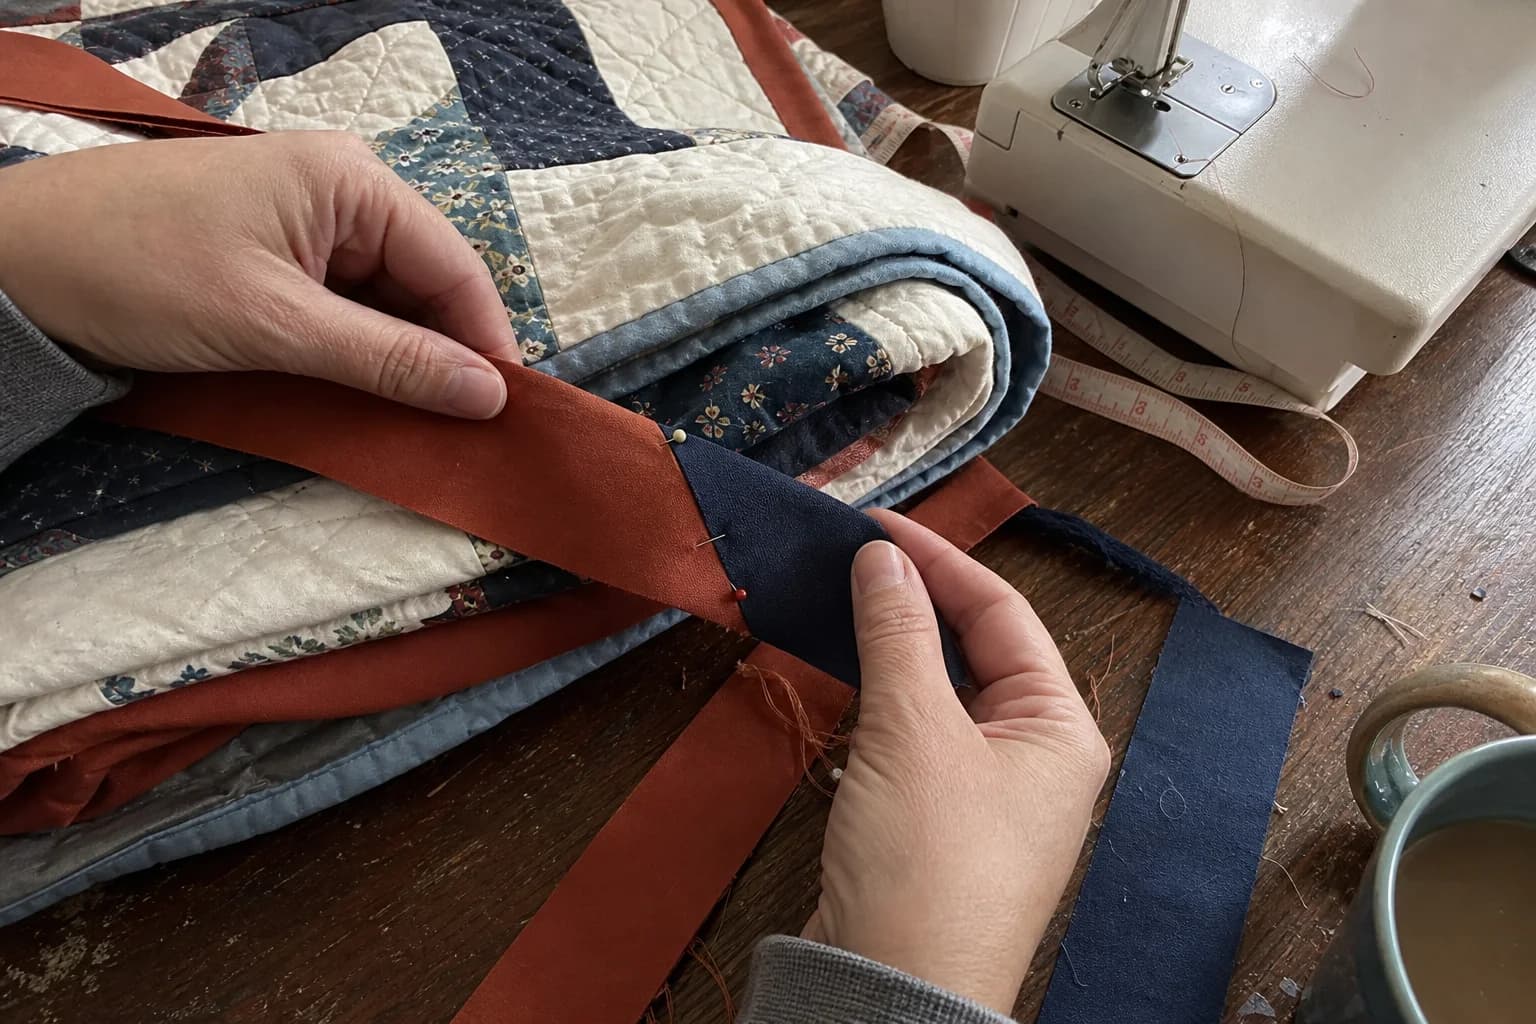
- Wrap it around one corner without sewing. Look from nearby and from a few steps away.
- Photograph the test in color and grayscale, then compare the candidates.
- Keep the favorite beside the quilt for a day if you are torn. A fresh look often clarifies the decision.
For example, a pale floral quilt with a warm ivory border may look soft with ivory binding, lively with a tiny coral print that repeats the flowers, and more tailored with a charcoal stripe. The test does not choose for you. It lets you see whether the charcoal is a satisfying frame or heavier than you expected before you cut enough strips for the whole perimeter.
Stripes and directional prints deserve one more pause
Striped binding can create a lovely candy-cane, barber-pole, or tailored effect, depending on how the strips are cut and joined. Directional prints can turn at corners, change direction along different sides, or place motifs upside down on part of the edge. Make one sample join and corner before committing to every strip.
This is also the moment to confirm whether your planned binding method uses straight-grain or bias strips. Follow the pattern or method you have chosen. Do not infer a cutting method from a photo of another quilt, especially if the pattern gives its own binding instructions.
Separate the aesthetic choice from the yardage math
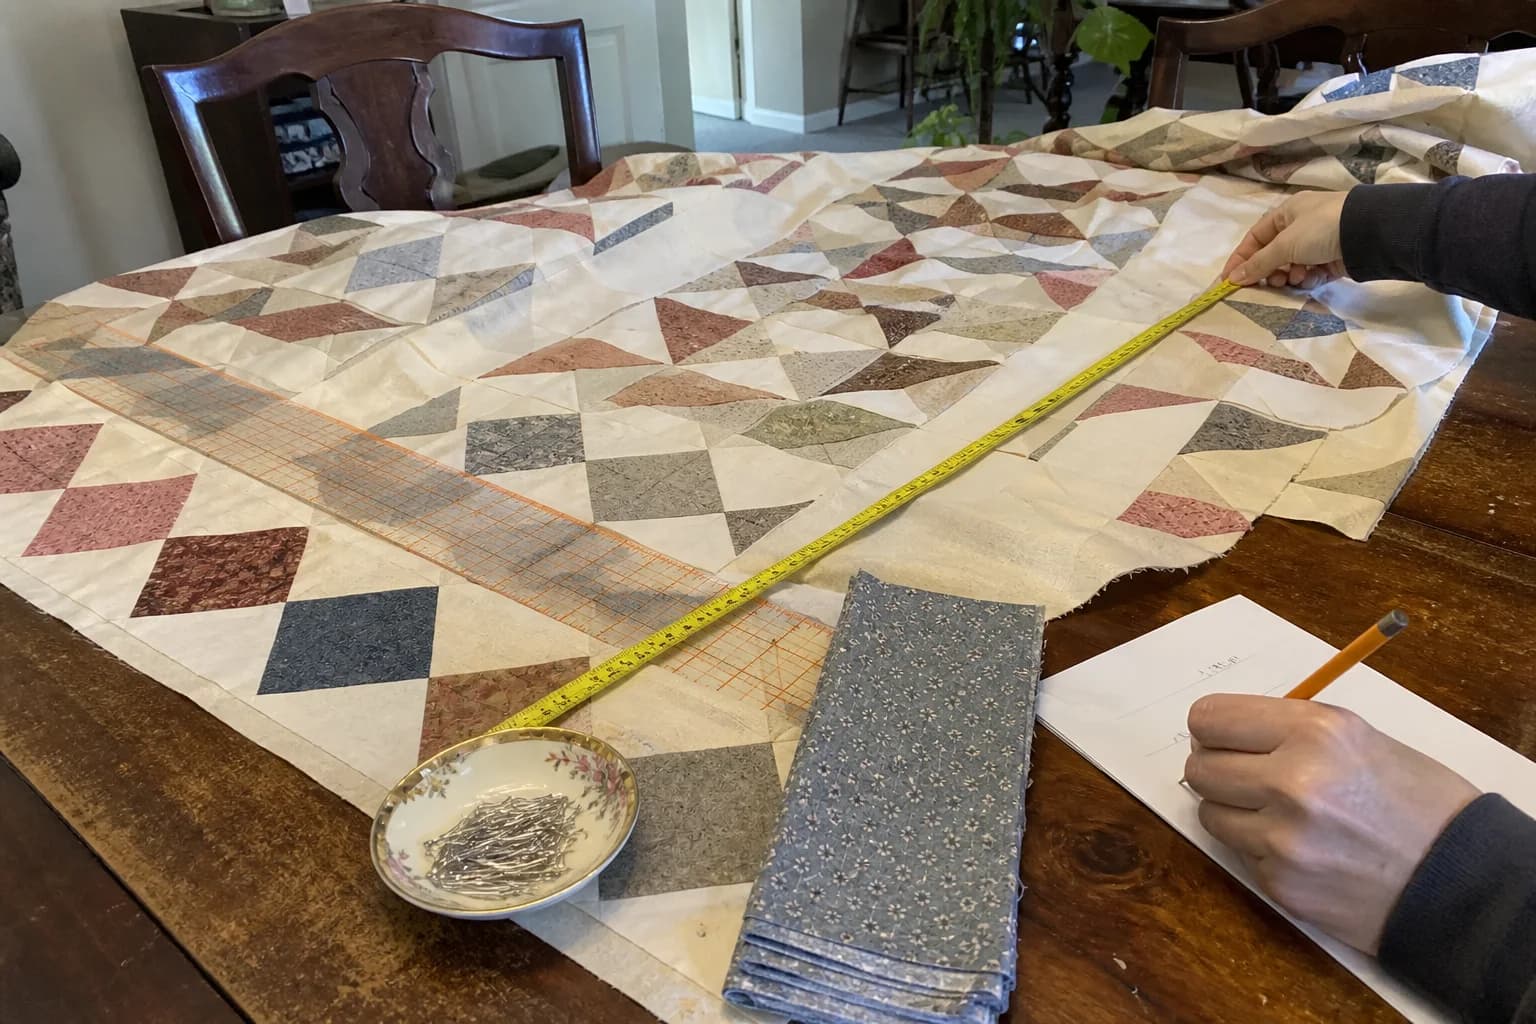
You can audition a binding fabric while the top is still in progress, but calculate the final amount after measuring the actual quilt. Borders, quilting, and final trimming can change the perimeter. Binding yardage depends on that perimeter, the strip width, usable fabric width, and an allowance for corners and joins.
Use the quilt binding calculator or the detailed binding math guide to make those assumptions visible. The result is an estimate for your stated inputs, not a command to ignore a pattern's finishing method.
Keep one candidate in reserve until the edge is final
If you are still deciding between two fabrics, avoid cutting both into full binding strips too early. Keep enough fabric aside, measure the finished quilt, and make the final call when you can see the true edge. This is especially useful when the border fabric has changed during the project or when a backing fabric is tempting you as binding.
Binding is a small final decision that can make the whole quilt feel more intentional. Test it at the edge, respect the pattern's method, and let the finished measurement guide the purchase. That is plenty of certainty for a fabric choice that should still feel like yours.
The questions that come up next
Common questions
Should binding match the border?
It can, but it does not have to. Binding may blend with the border, repeat a feature fabric, or make a deliberate contrast depending on the effect you want.
Can I use a directional or striped binding?
Yes. Check the direction around corners and join seams before cutting all the strips, because strip direction changes how the print reads at the edge.
When should I buy binding fabric?
You can audition it early, but calculate the final amount from the quilt's finished measurements and the strip width and usable fabric width you plan to use.
Quilt math, without the second-guessing
One short email when a new guide or calculator lands. No sales sequence.
You're agreeing to quilt-math emails from Stitchtale. Unsubscribe any time; this is separate from signing in.